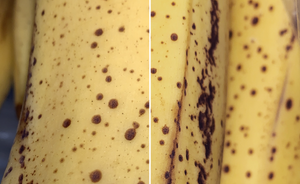
We've all seen the comparison photos before and after with a divider in the middle. Here's what I propose to do.
We've all seen the comparison photos before and after with a divider in the middle. Here's what I propose to do.
This is autotranslated version of this post.
Before and After Pro Slider – help compare photos, adding to the slider "before and after".
When you run the application you can add multiple pairs of pictures for comparison. Clicking on Compare opens the comparison.
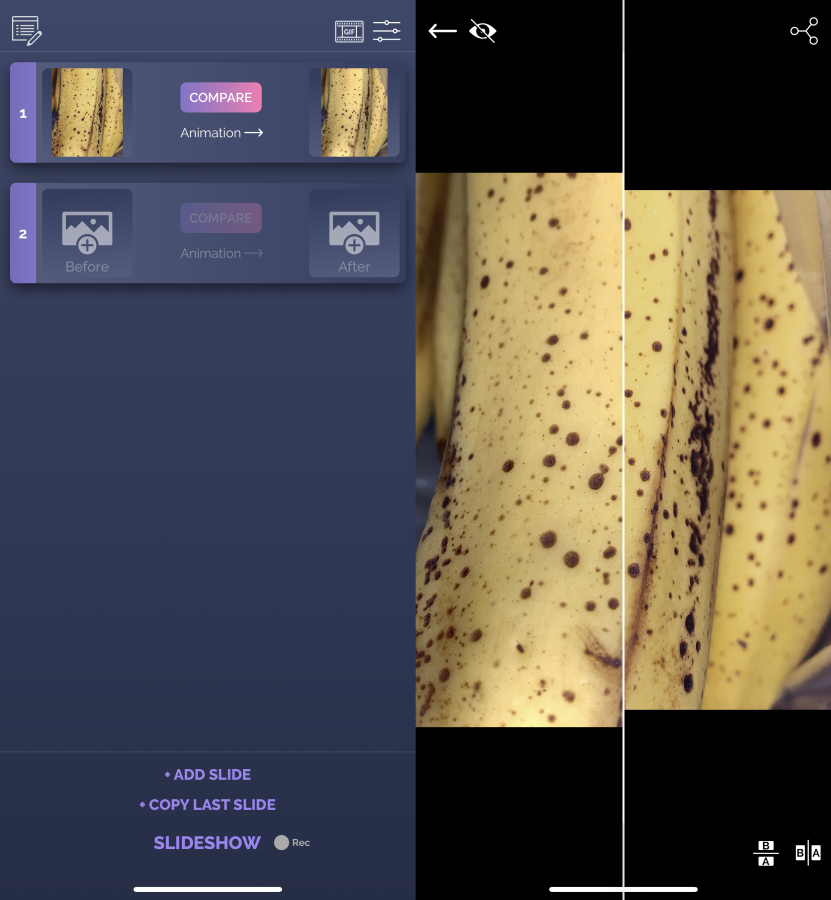
On this screen you can change the direction of the slider from horizontal to vertical. Added a pair to copy.
You might have noticed the button Animation under Compare. It is needed to configure the direction of movement of the slider when creating a video. To show the result before and after with a short video.
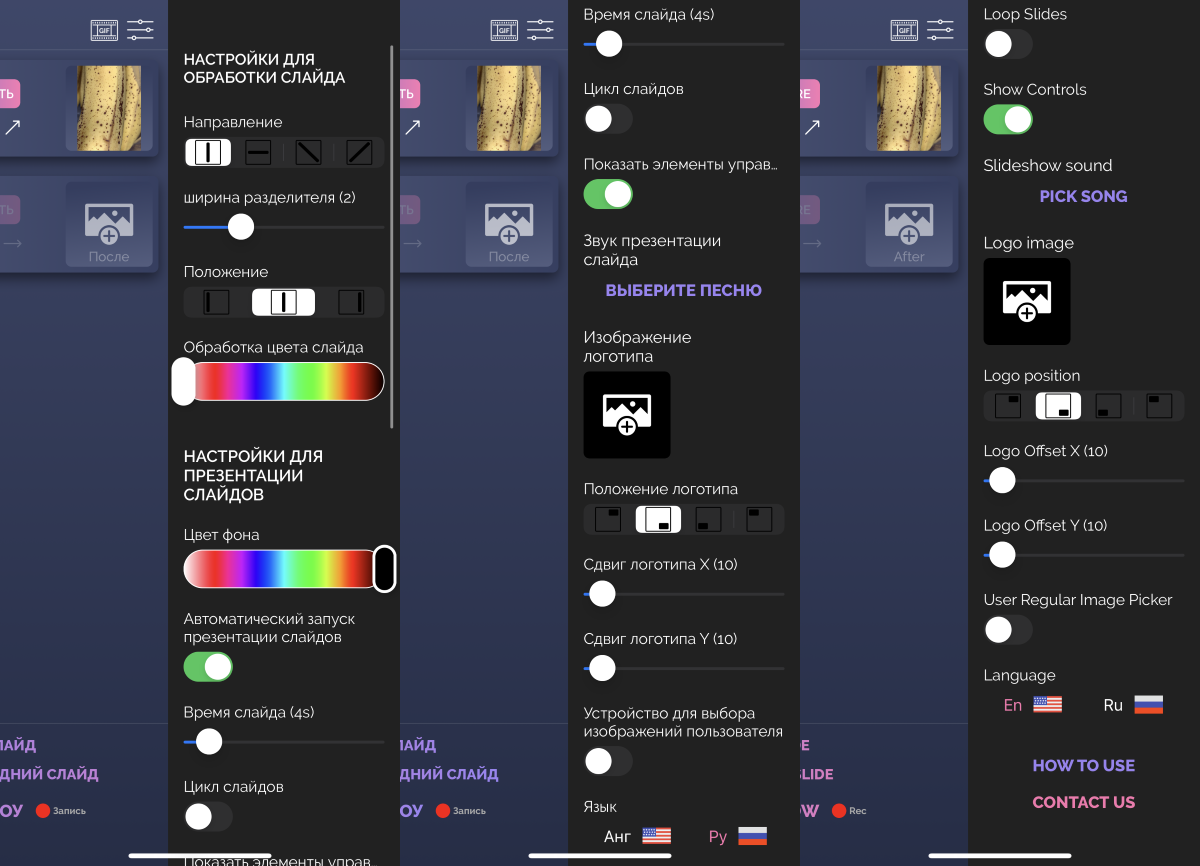
All the slideshow options you can set: direction of the slider, its thickness, background slides, add music, and much more.