
SoundSource lets you cap the maximum volume and smooth out sudden audio spikes in macOS, so you don’t have to adjust volume manually.
When watching YouTube, audio levels can vary a lot between videos, forcing you to constantly change the system volume. To avoid this, you can set a unified maximum volume level.
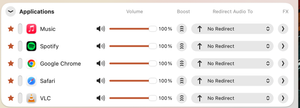
You can do this using the SoundSource app, which allows you to control macOS audio for each individual application or audio device.
Honestly, using this app just to set a maximum volume might feel like overkill. However, as it turns out, there are no other apps on macOS that handle this task as effectively.
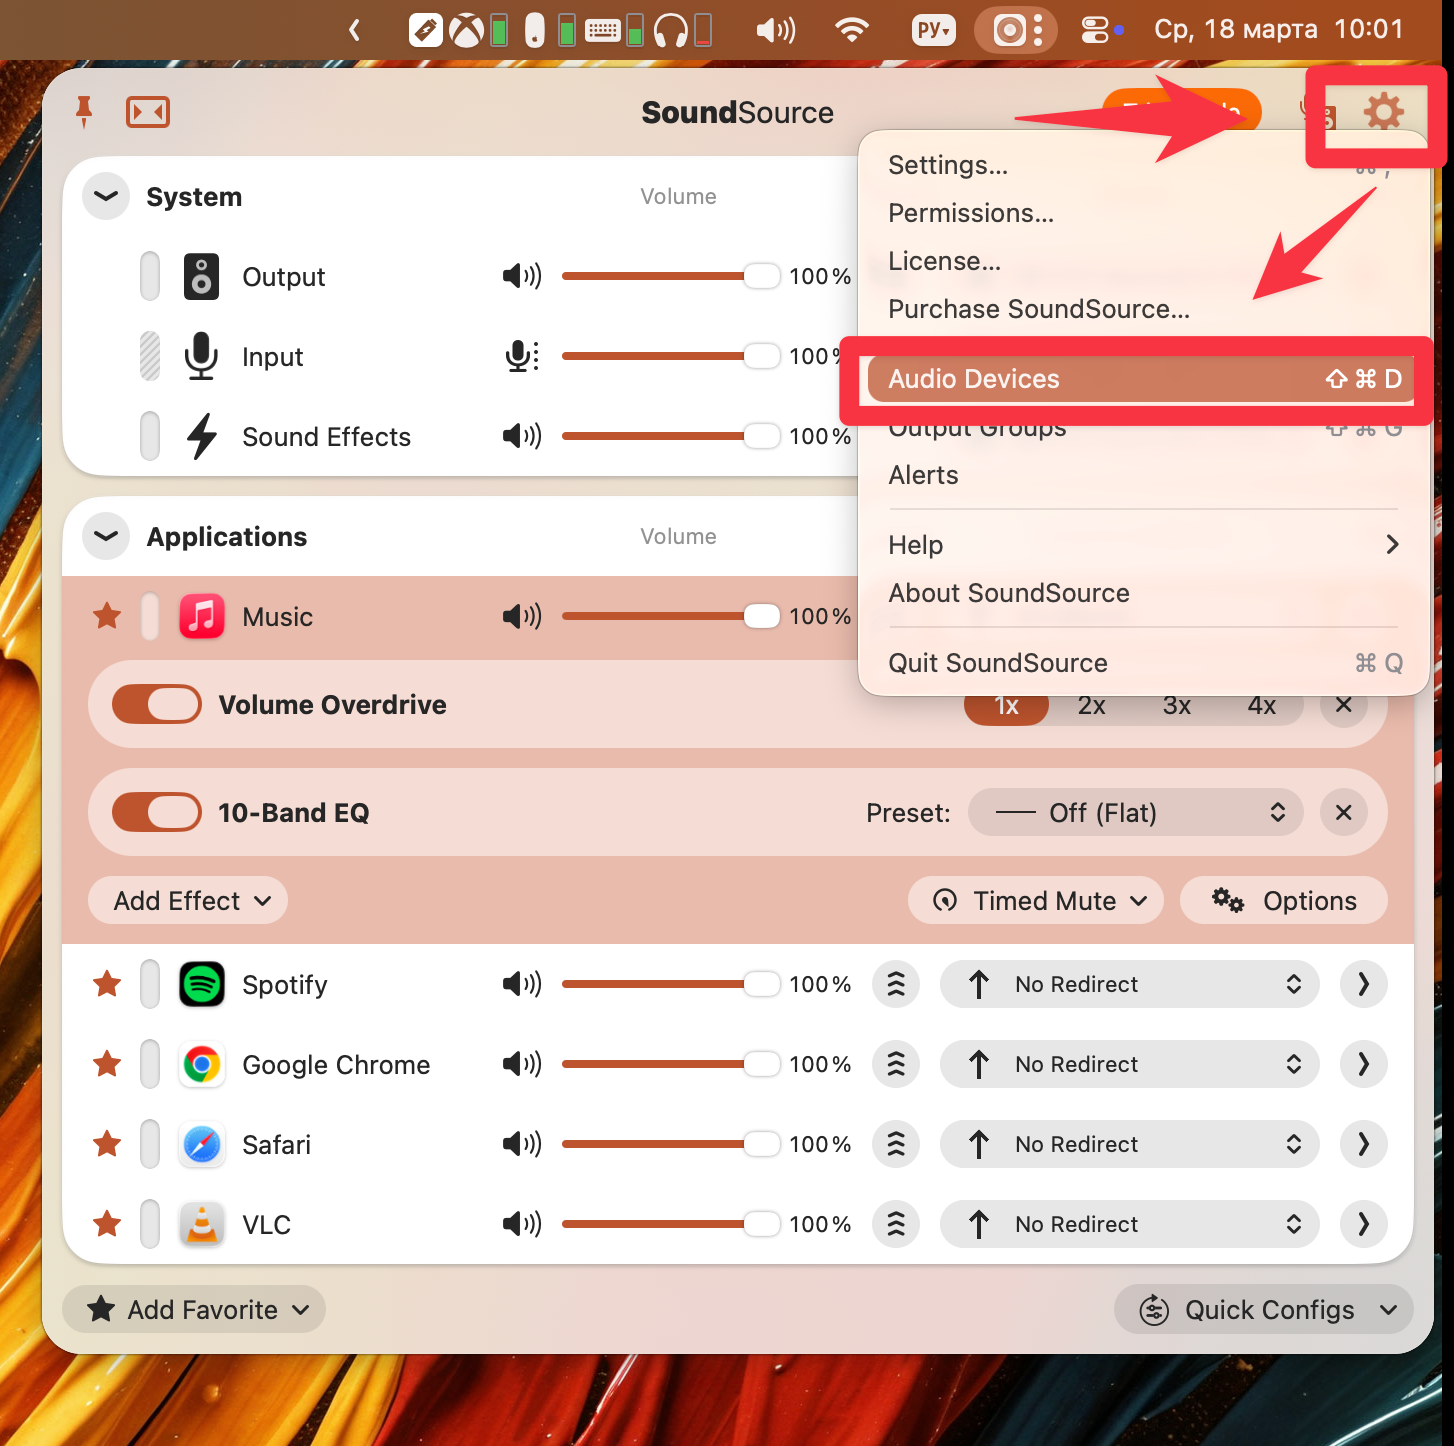
To limit the volume of a device, open the settings menu and select Audio Devices.
In the Output Devices section, you’ll see all available audio output devices in your system.
To set a limit, simply choose the desired device from the list and, on the right panel under Output, specify the maximum volume level using Max Volume.
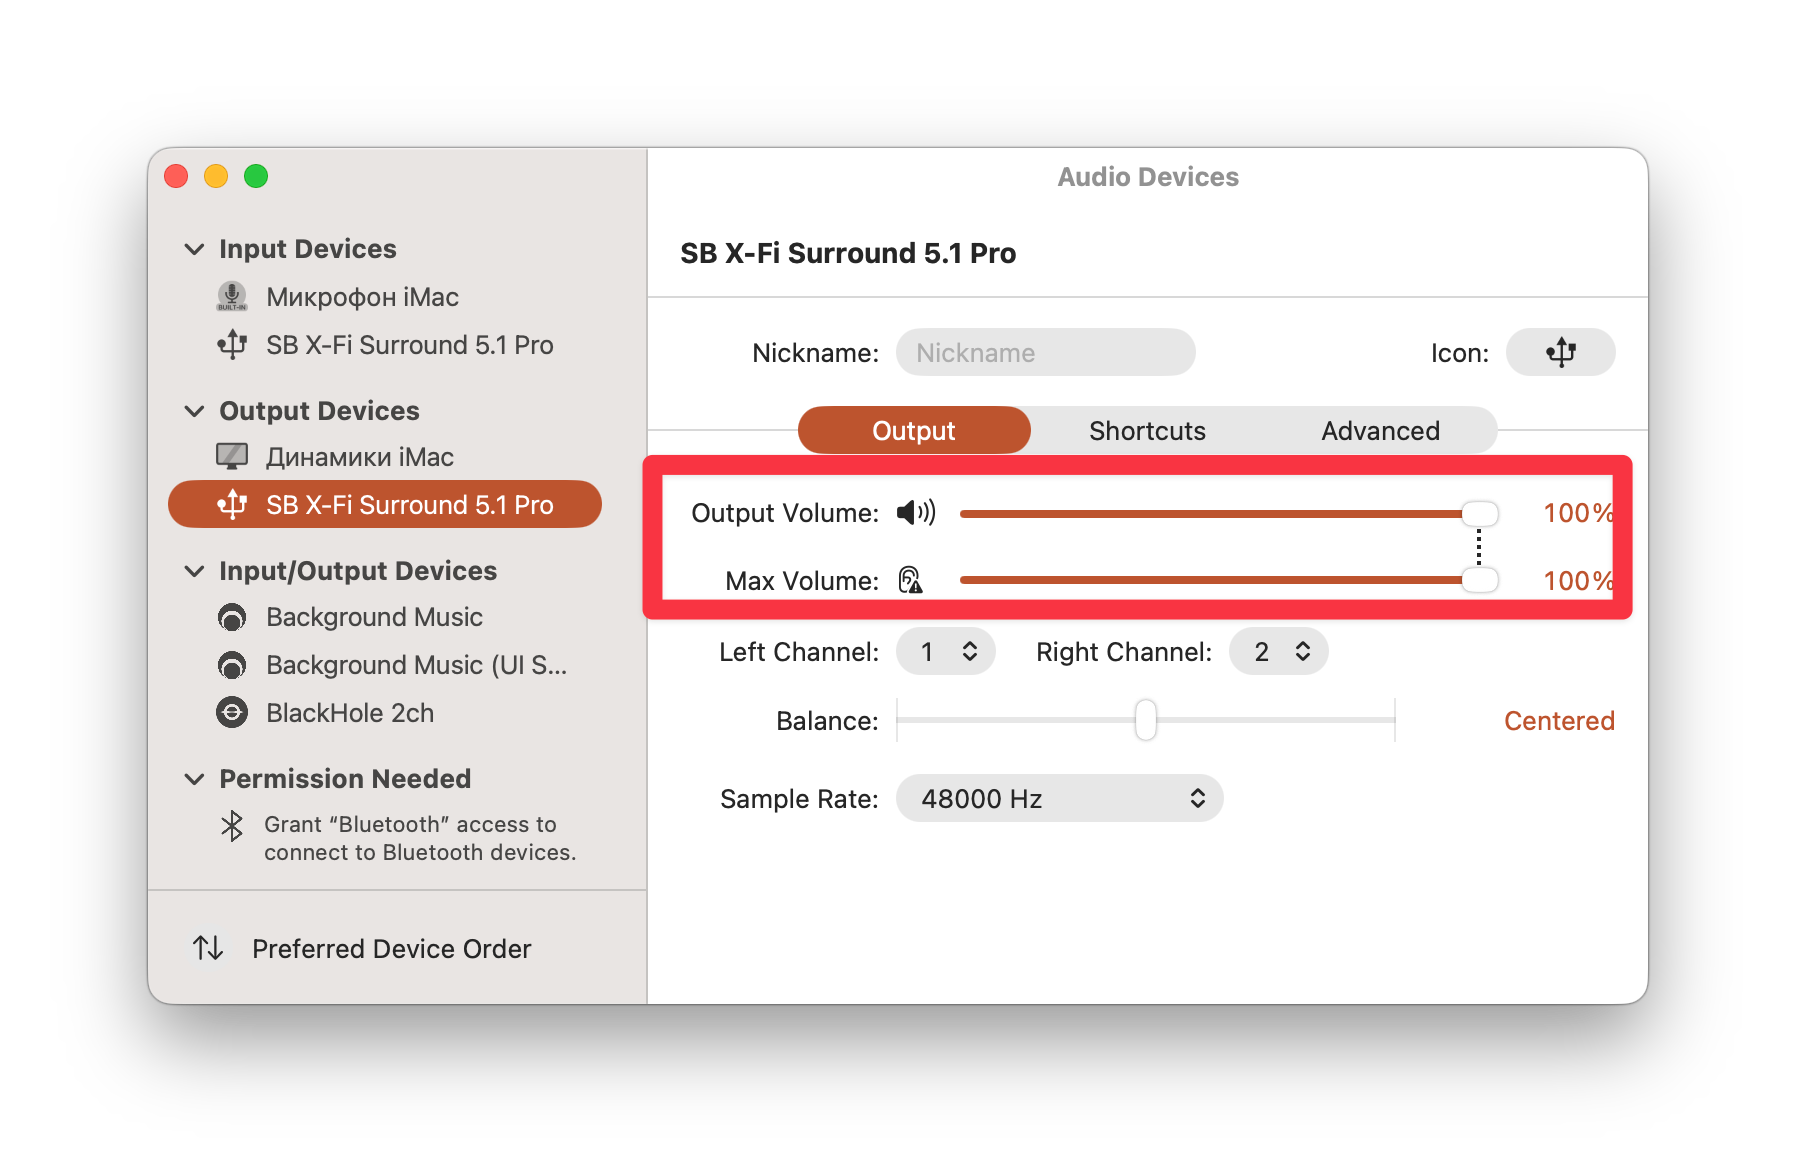
Now, regardless of the actual volume level, it won’t exceed the limit you’ve set.
Since you’ve installed such a powerful tool, you can also configure peak limiting—reducing sudden audio spikes.
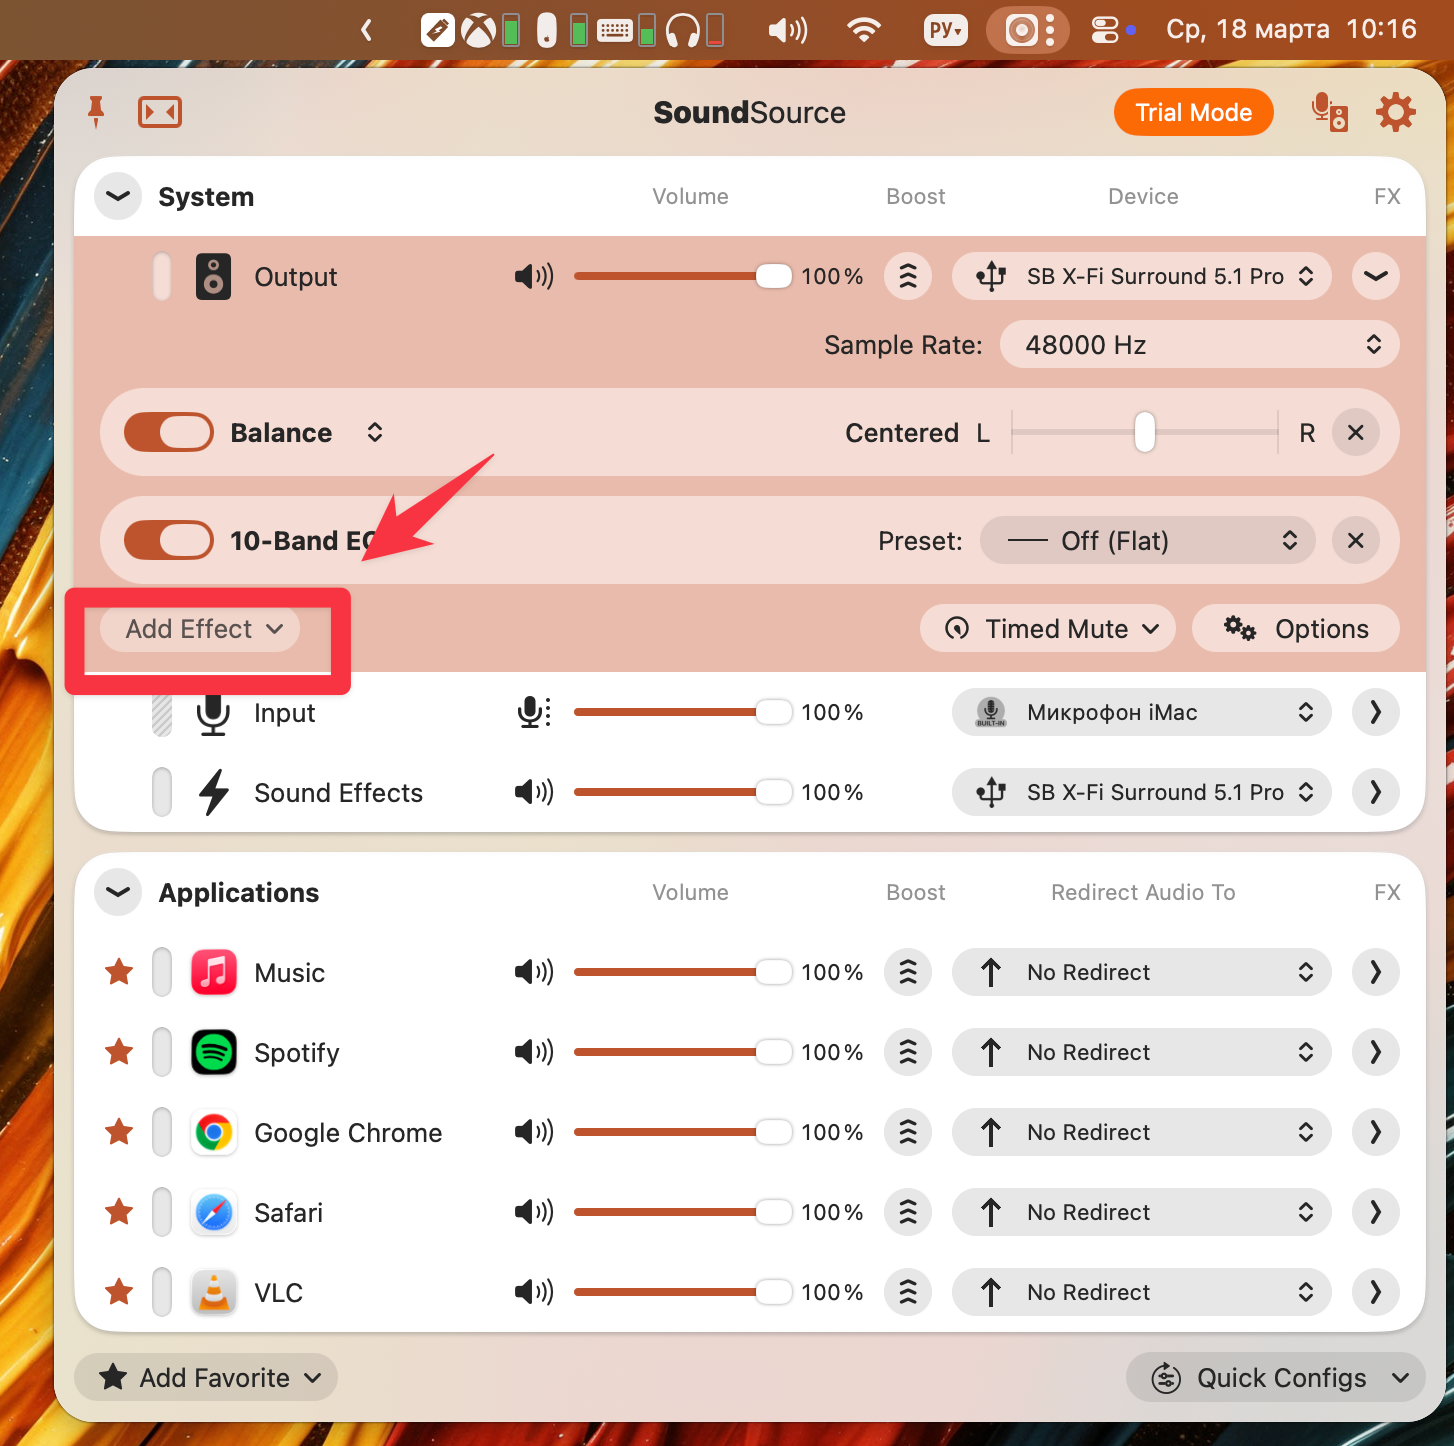
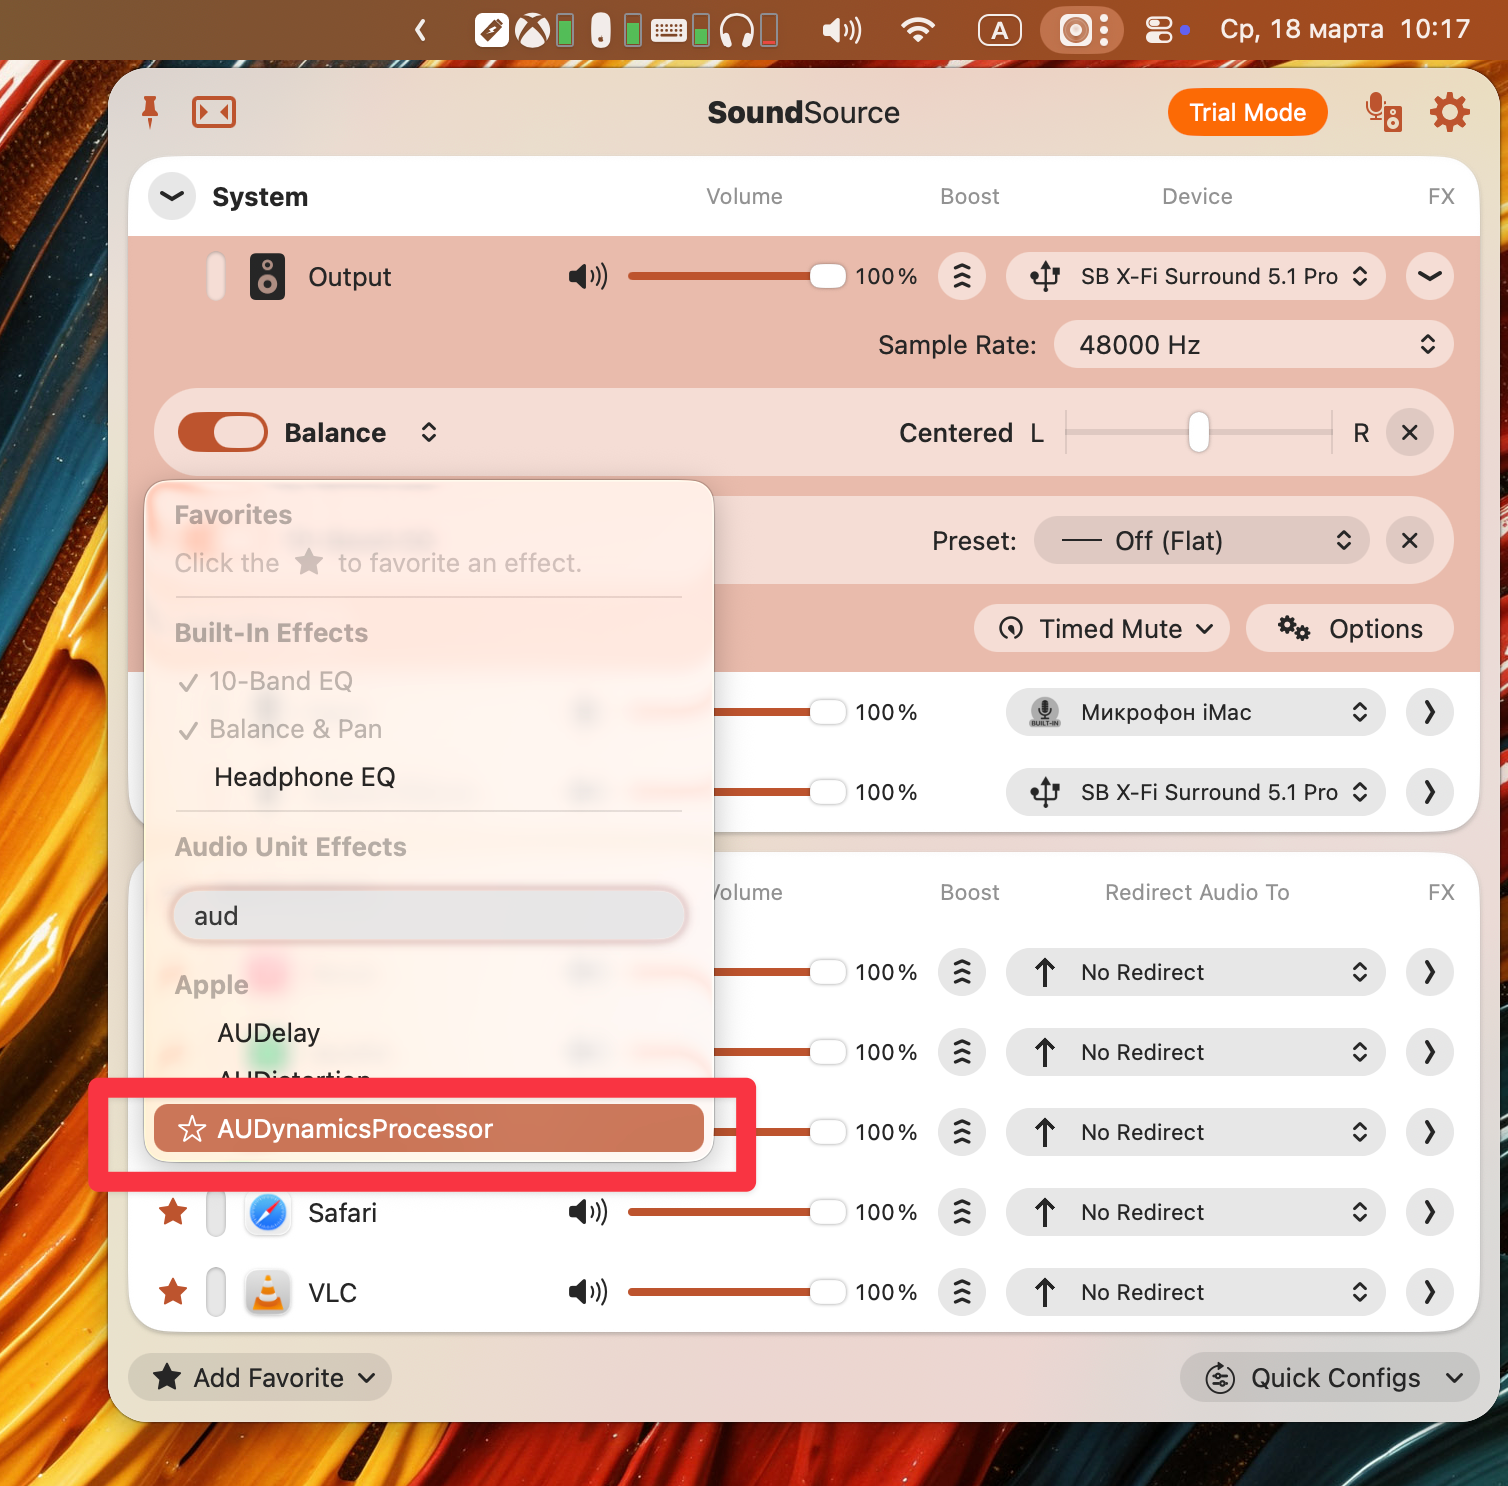
To do this, open the main SoundSource window and, in the System section for the output device, click Add Effect.
Search for AUDynamicsProcessor among the effects and enable it.
In the settings that appear, configure the limiter parameters as needed (for example, similar to the values shown in your screenshot).
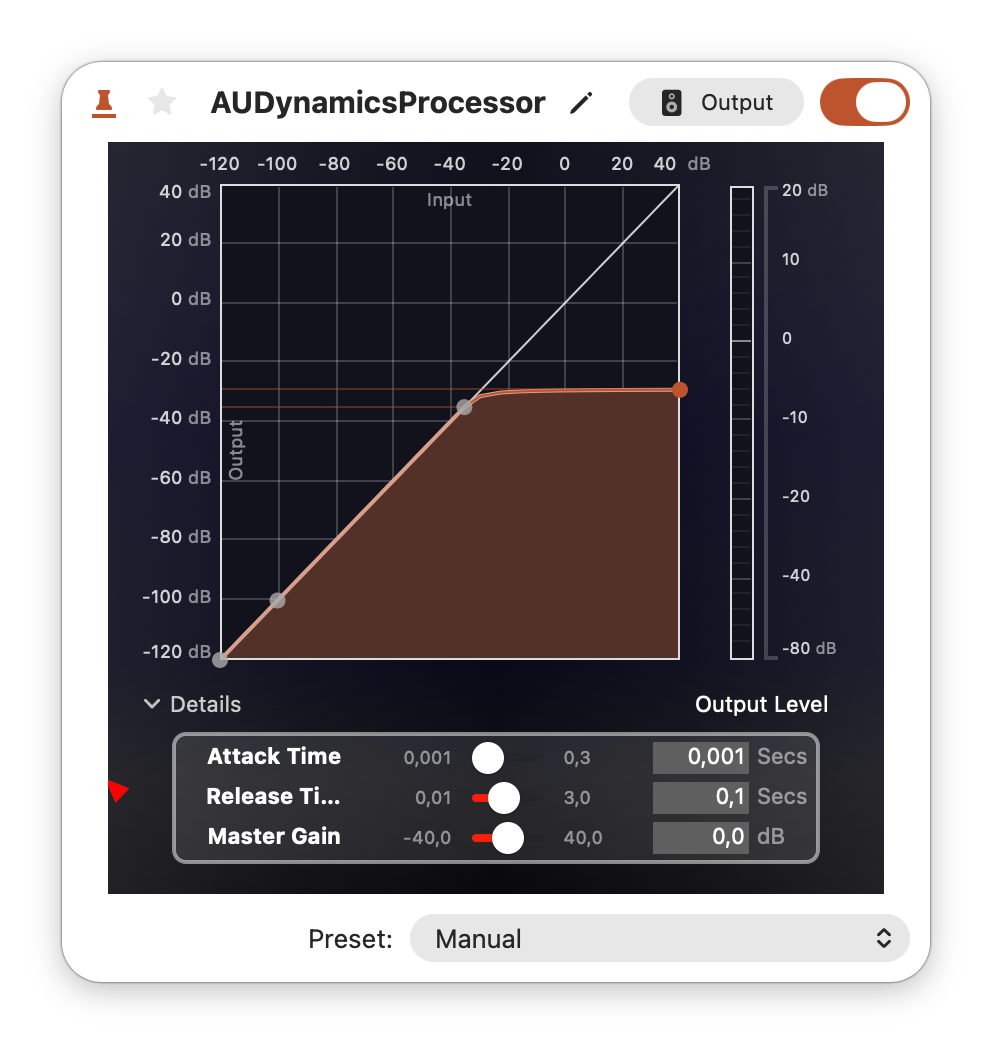
Now your audio is not only capped at a maximum level, but any sudden spikes will also be automatically reduced using filters.