

Pi-hole lets you deploy a DNS-based ad blocker for your entire home network: it installs in minutes and is managed via a web interface.
Getting rid of intrusive ads on a computer is easy—just install an ad blocker. On a phone or TV, it’s a bit more complicated: special apps, special browsers, and so on. But what if you set up your own DNS server with ad blocking?
Network-Wide Ad Blocking
This is quite easy to do with the Pi-hole project, which allows you to create a DNS server with ad-blocking rules and then connect to it from any device in your home.
The project supports installation on Alpine, Armbian OS, Debian, CentOS Stream, Fedora, Raspberry Pi OS, and Ubuntu. Of course, with enough know-how, you can install it on other operating systems as well.
Installation and Setup
I decided to install Pi-hole on my Raspberry Pi 4, but the installation process doesn’t differ much between operating systems. You just need to run the installer, which does everything for you:
curl -sSL https://install.pi-hole.net | bash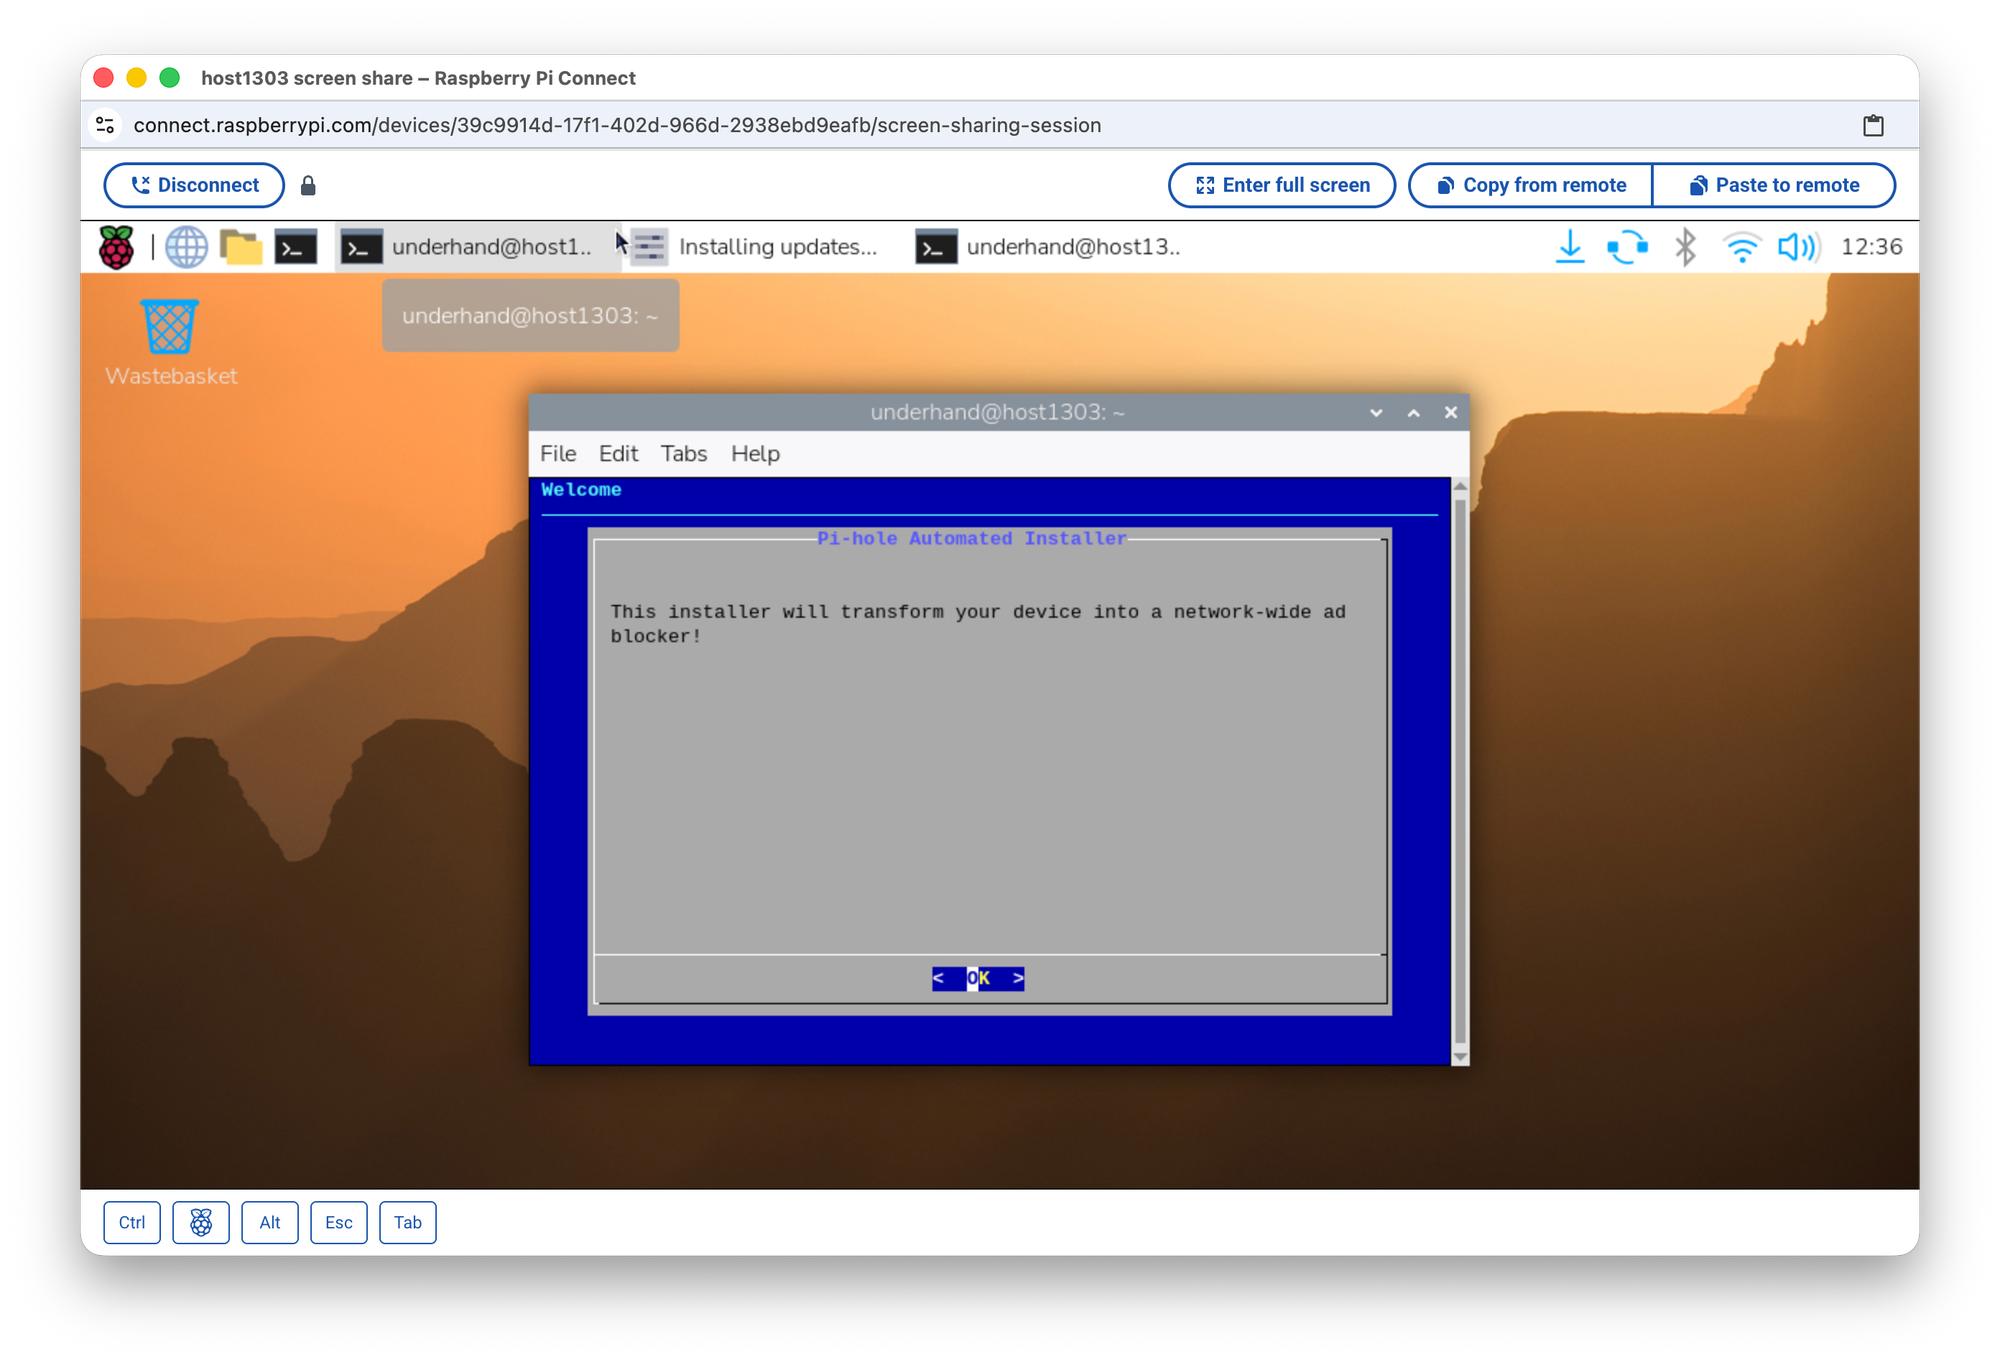
During installation, you’ll need to confirm that the device uses a static IP address. Then you’ll choose a network interface—which, in my case, felt a bit odd.
My Raspberry Pi is connected via Wi-Fi, yet it suggested using the Ethernet port.
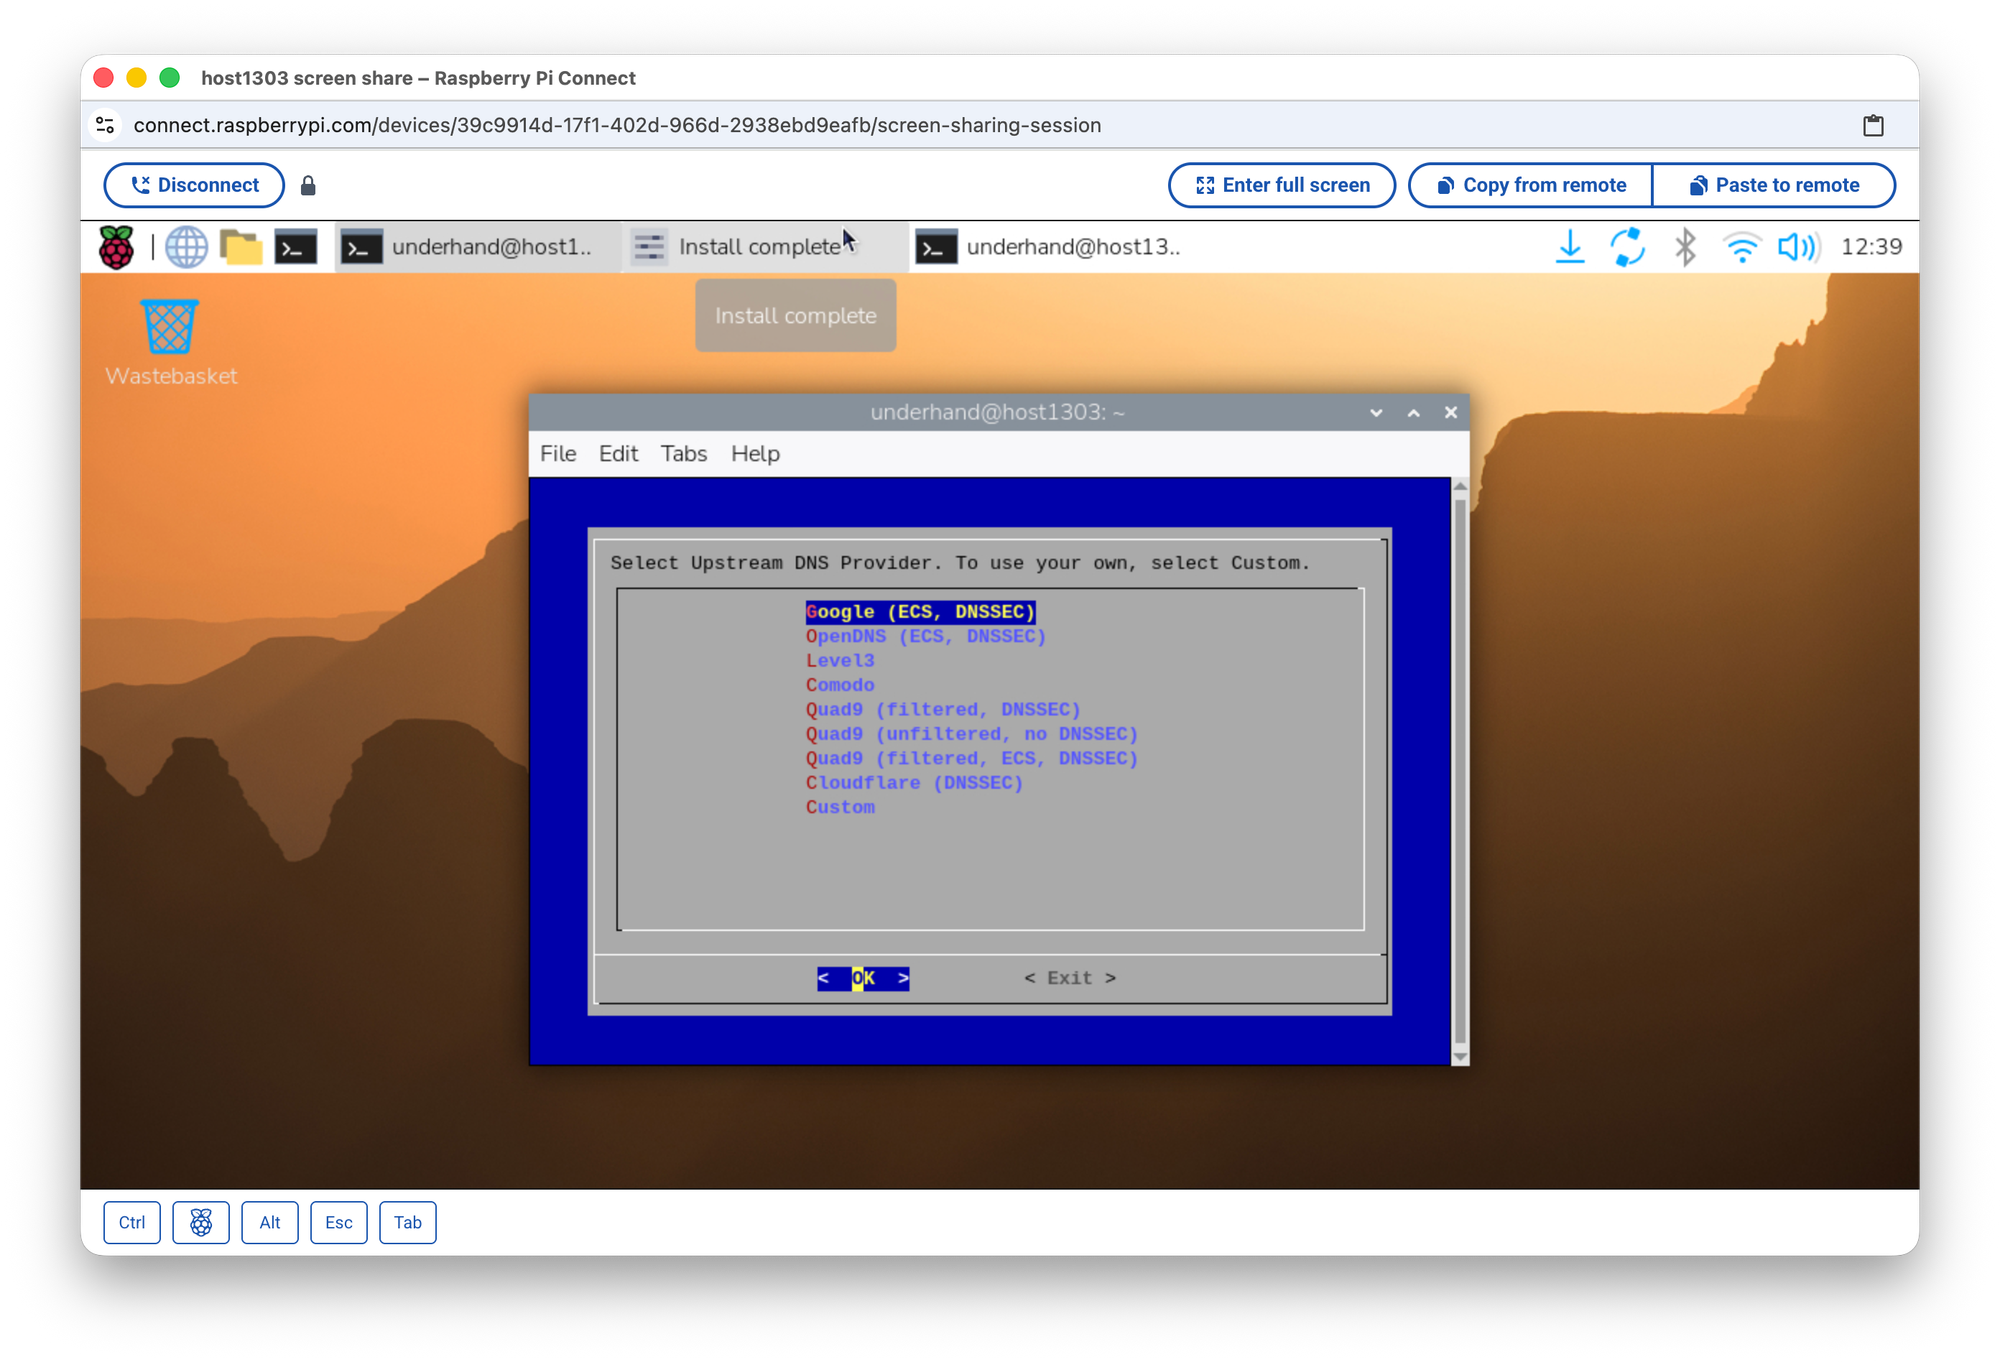
Next, you need to select one of the proposed DNS providers. The list is standard and familiar, but you can also specify your own custom settings.
At the following step, you’re asked to agree to download third-party blocklists for ad blocking. You can skip this step — but what’s the point, if that’s exactly why you’re installing Pi-hole?
If you want, you can enable query logging during setup — it’s entirely up to you.
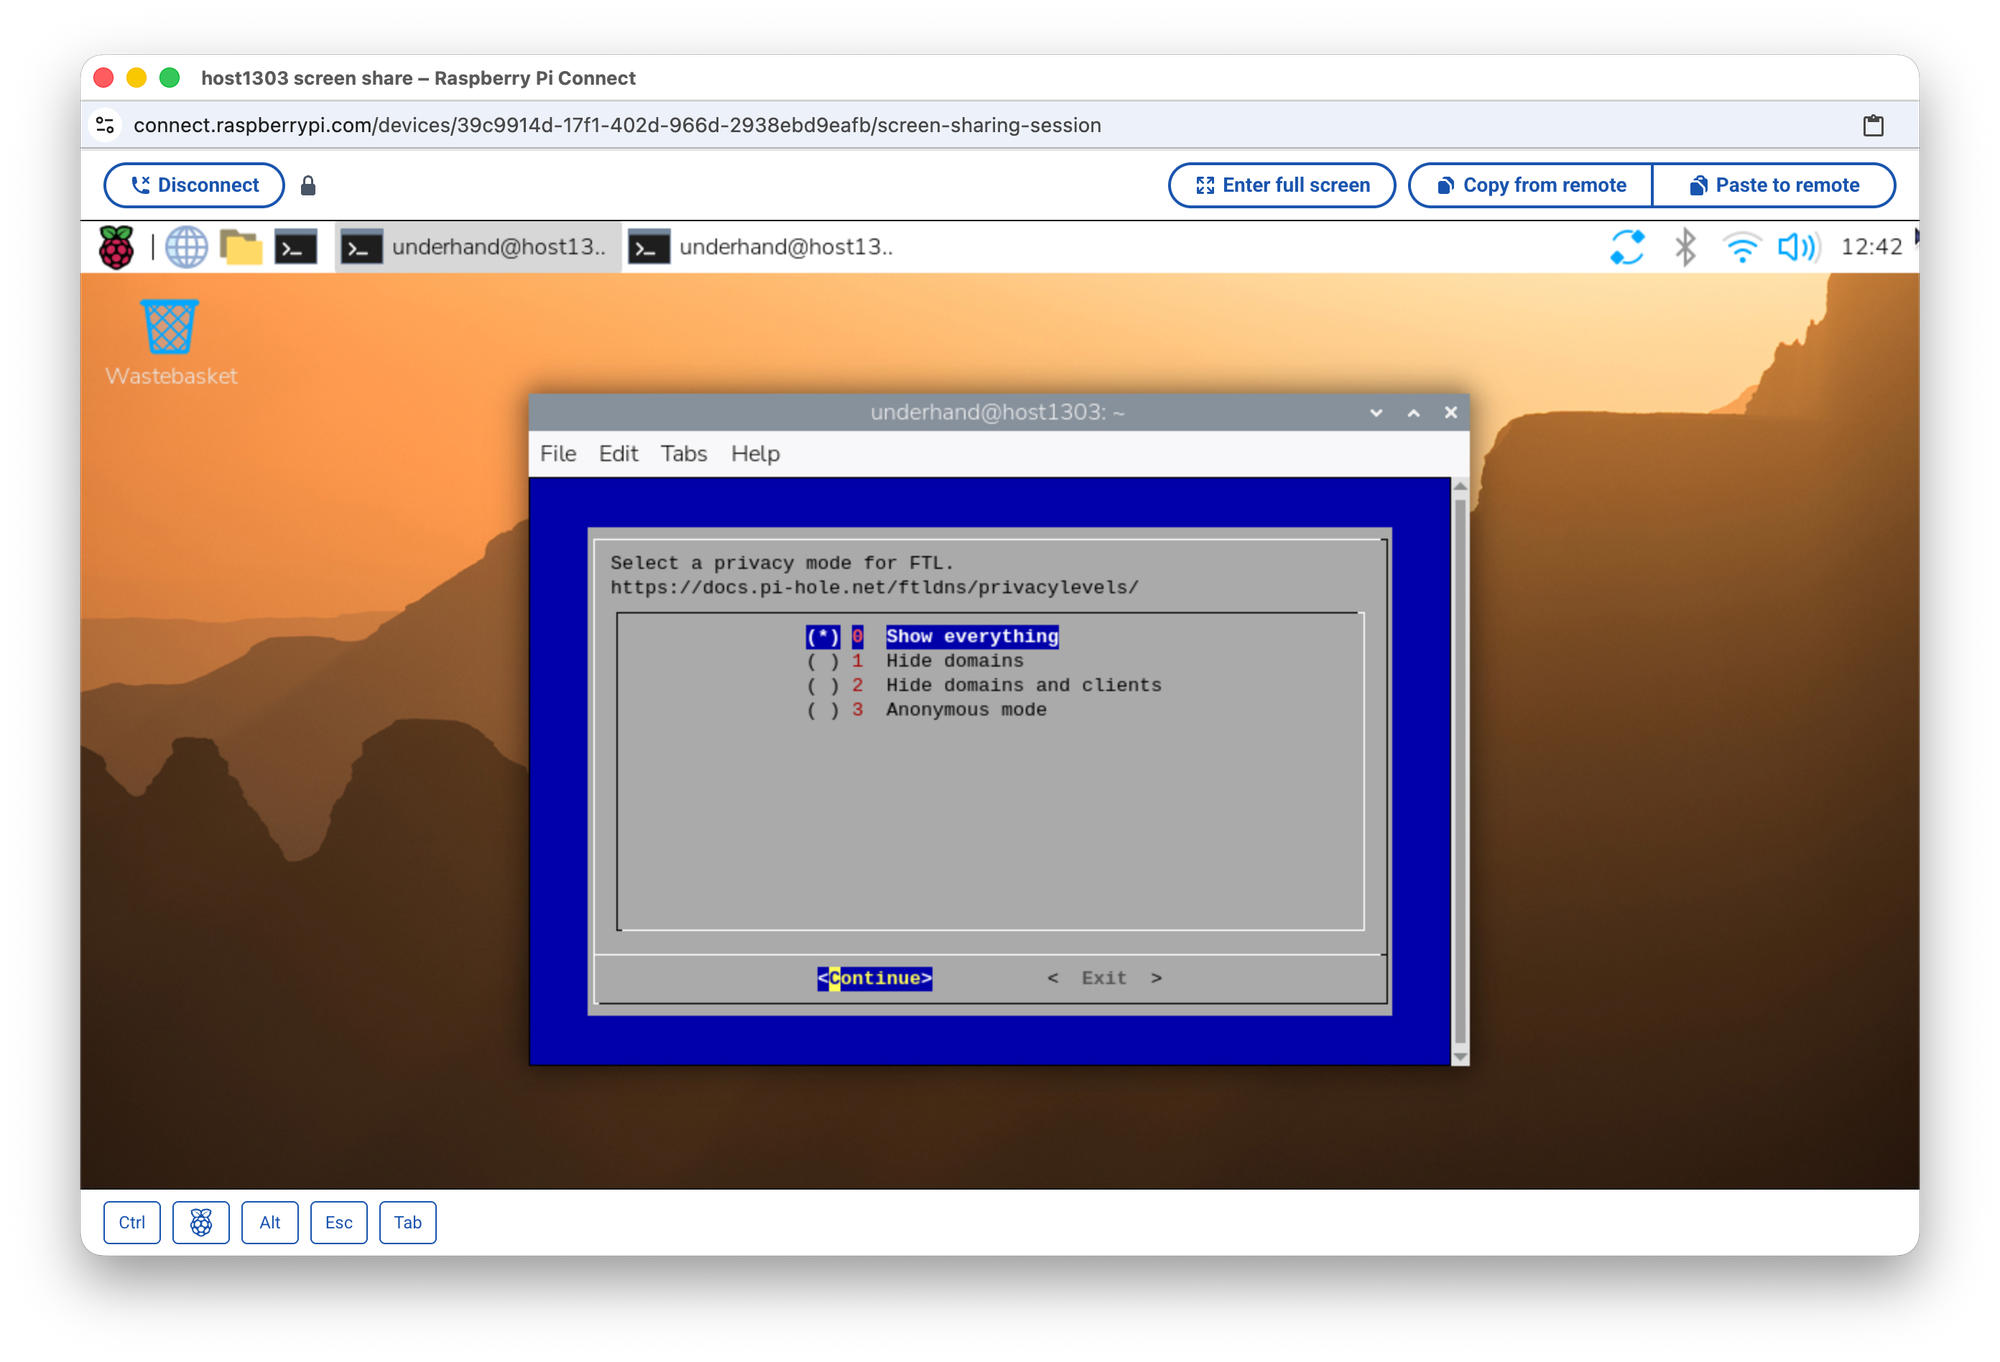
Another interesting option is choosing the FTL privacy mode, which determines what DNS query data will be stored and displayed later. You can select the mode that suits you best, from storing everything to full anonymity.
In the end, Pi-hole will provide you with DNS settings for connecting other devices and the credentials for accessing the web admin interface to manage all parameters.
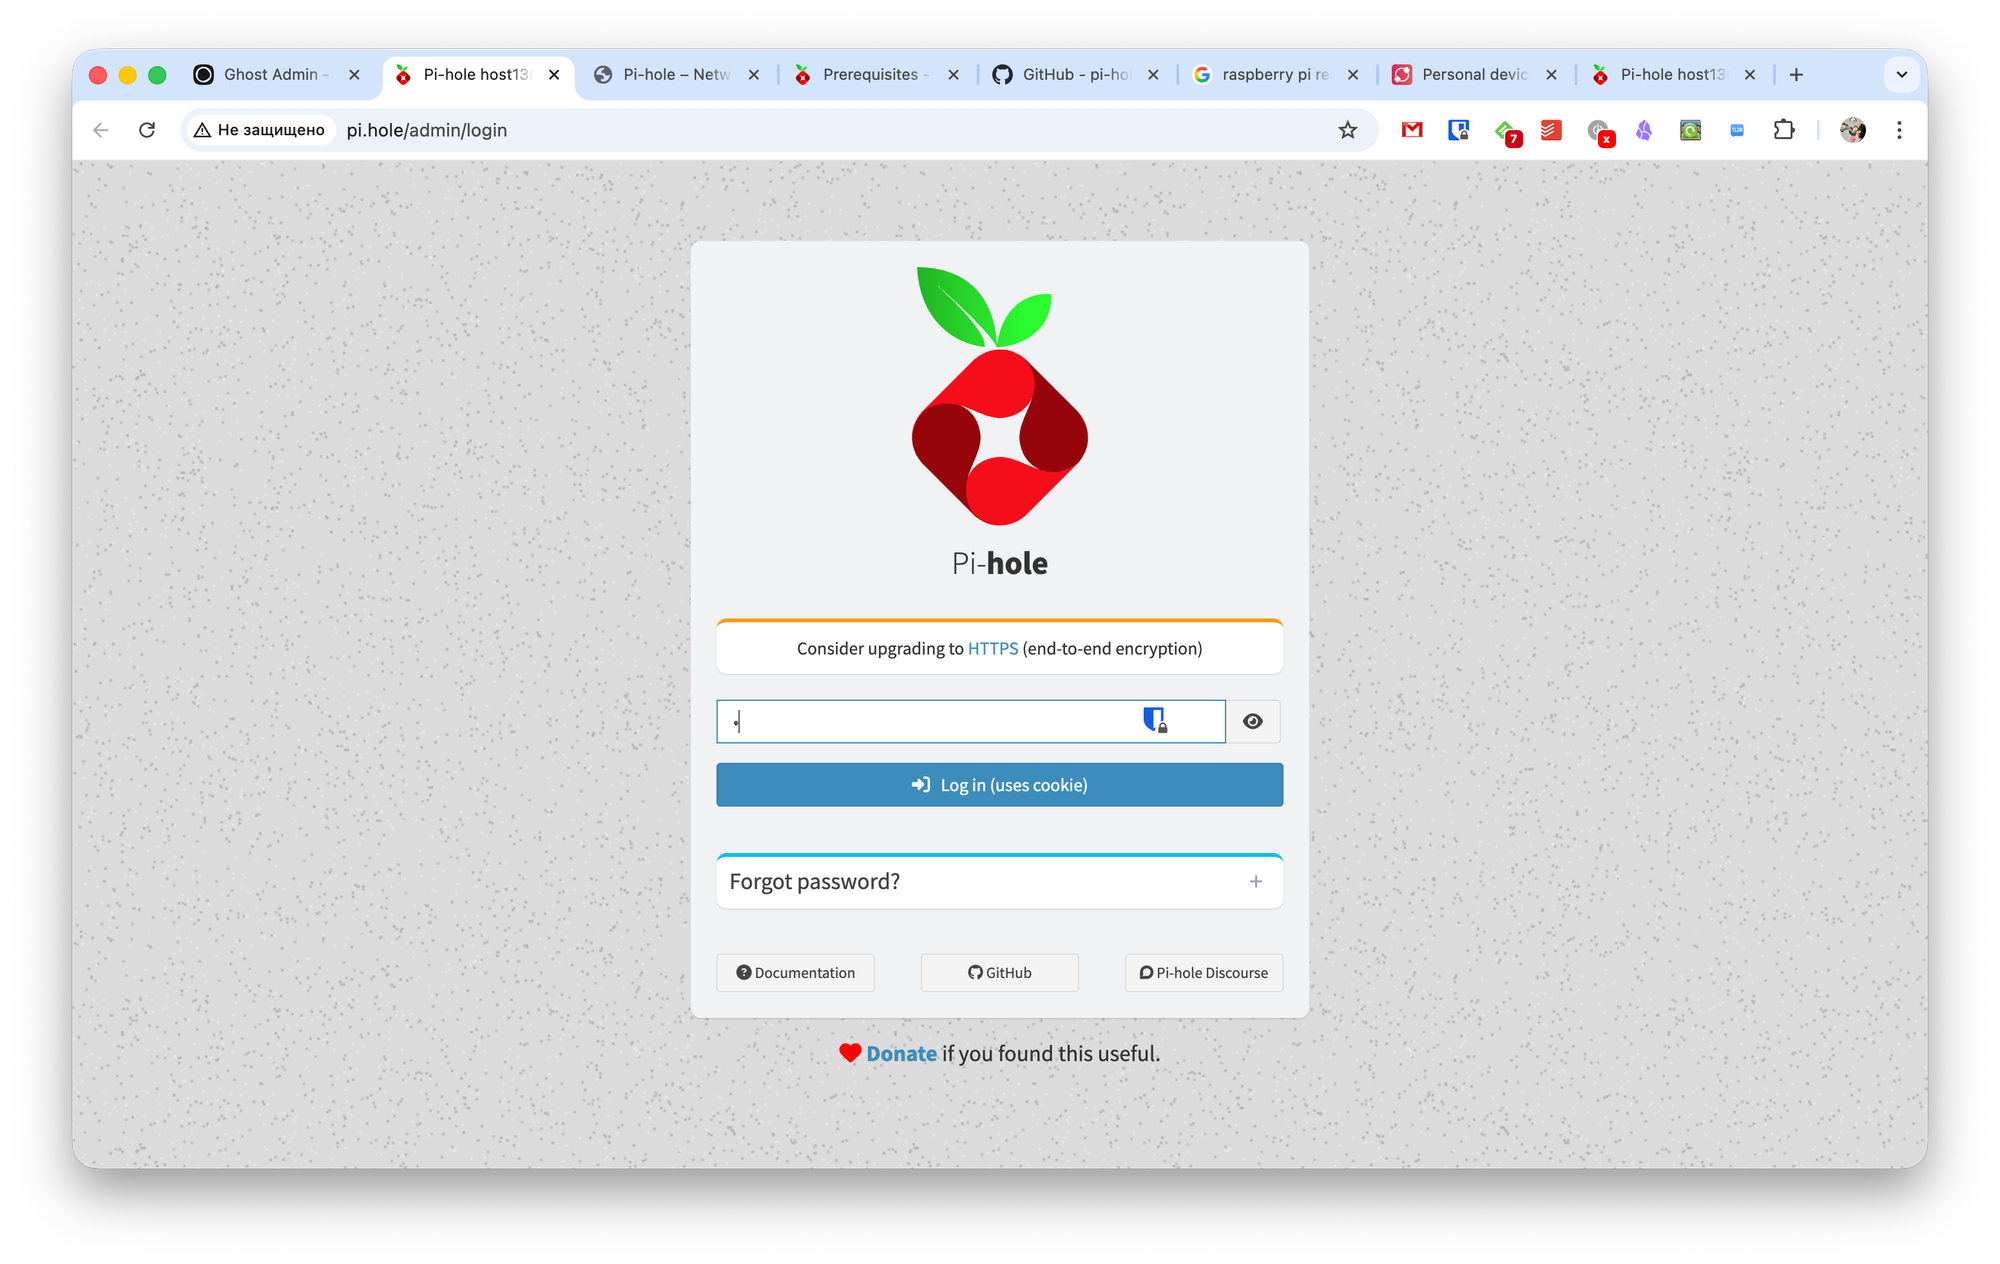
To access the web interface, you don’t need to use the device running Pi-hole. Just enter the address in a browser on any other device.
Checking whether everything is configured correctly is very easy. Pi-hole provides a hostname (http://pi.hole:80/admin) and an IP address. If your DNS is set to the Pi-hole server, accessing the hostname will work. If not, the connection will fail.
What’s in the Admin Panel
After logging into Pi-hole via the web interface, you’ll land on the Dashboard. Here you can see all the essential statistics about how the ad blocker is working.

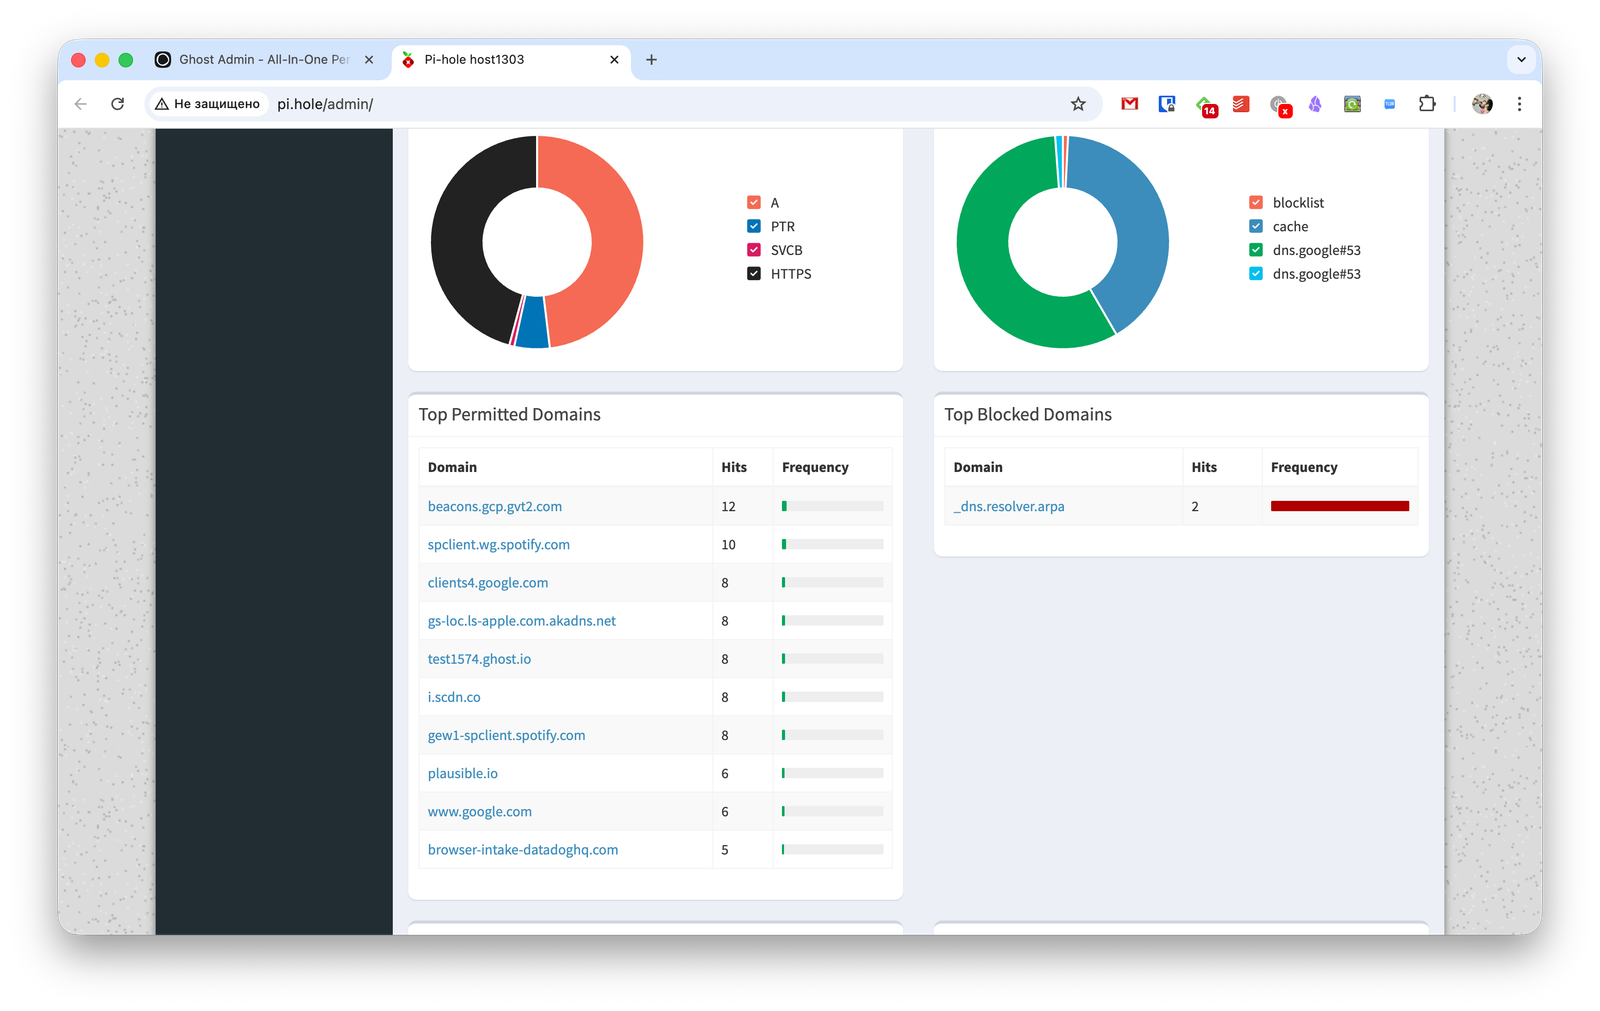
It shows the total number of queries and clients, the number of blocked requests, the blocking percentage, and a list of domains. There are also clear real-time graphs displaying current activity.
In the top left corner, you can view resource usage of the server device.
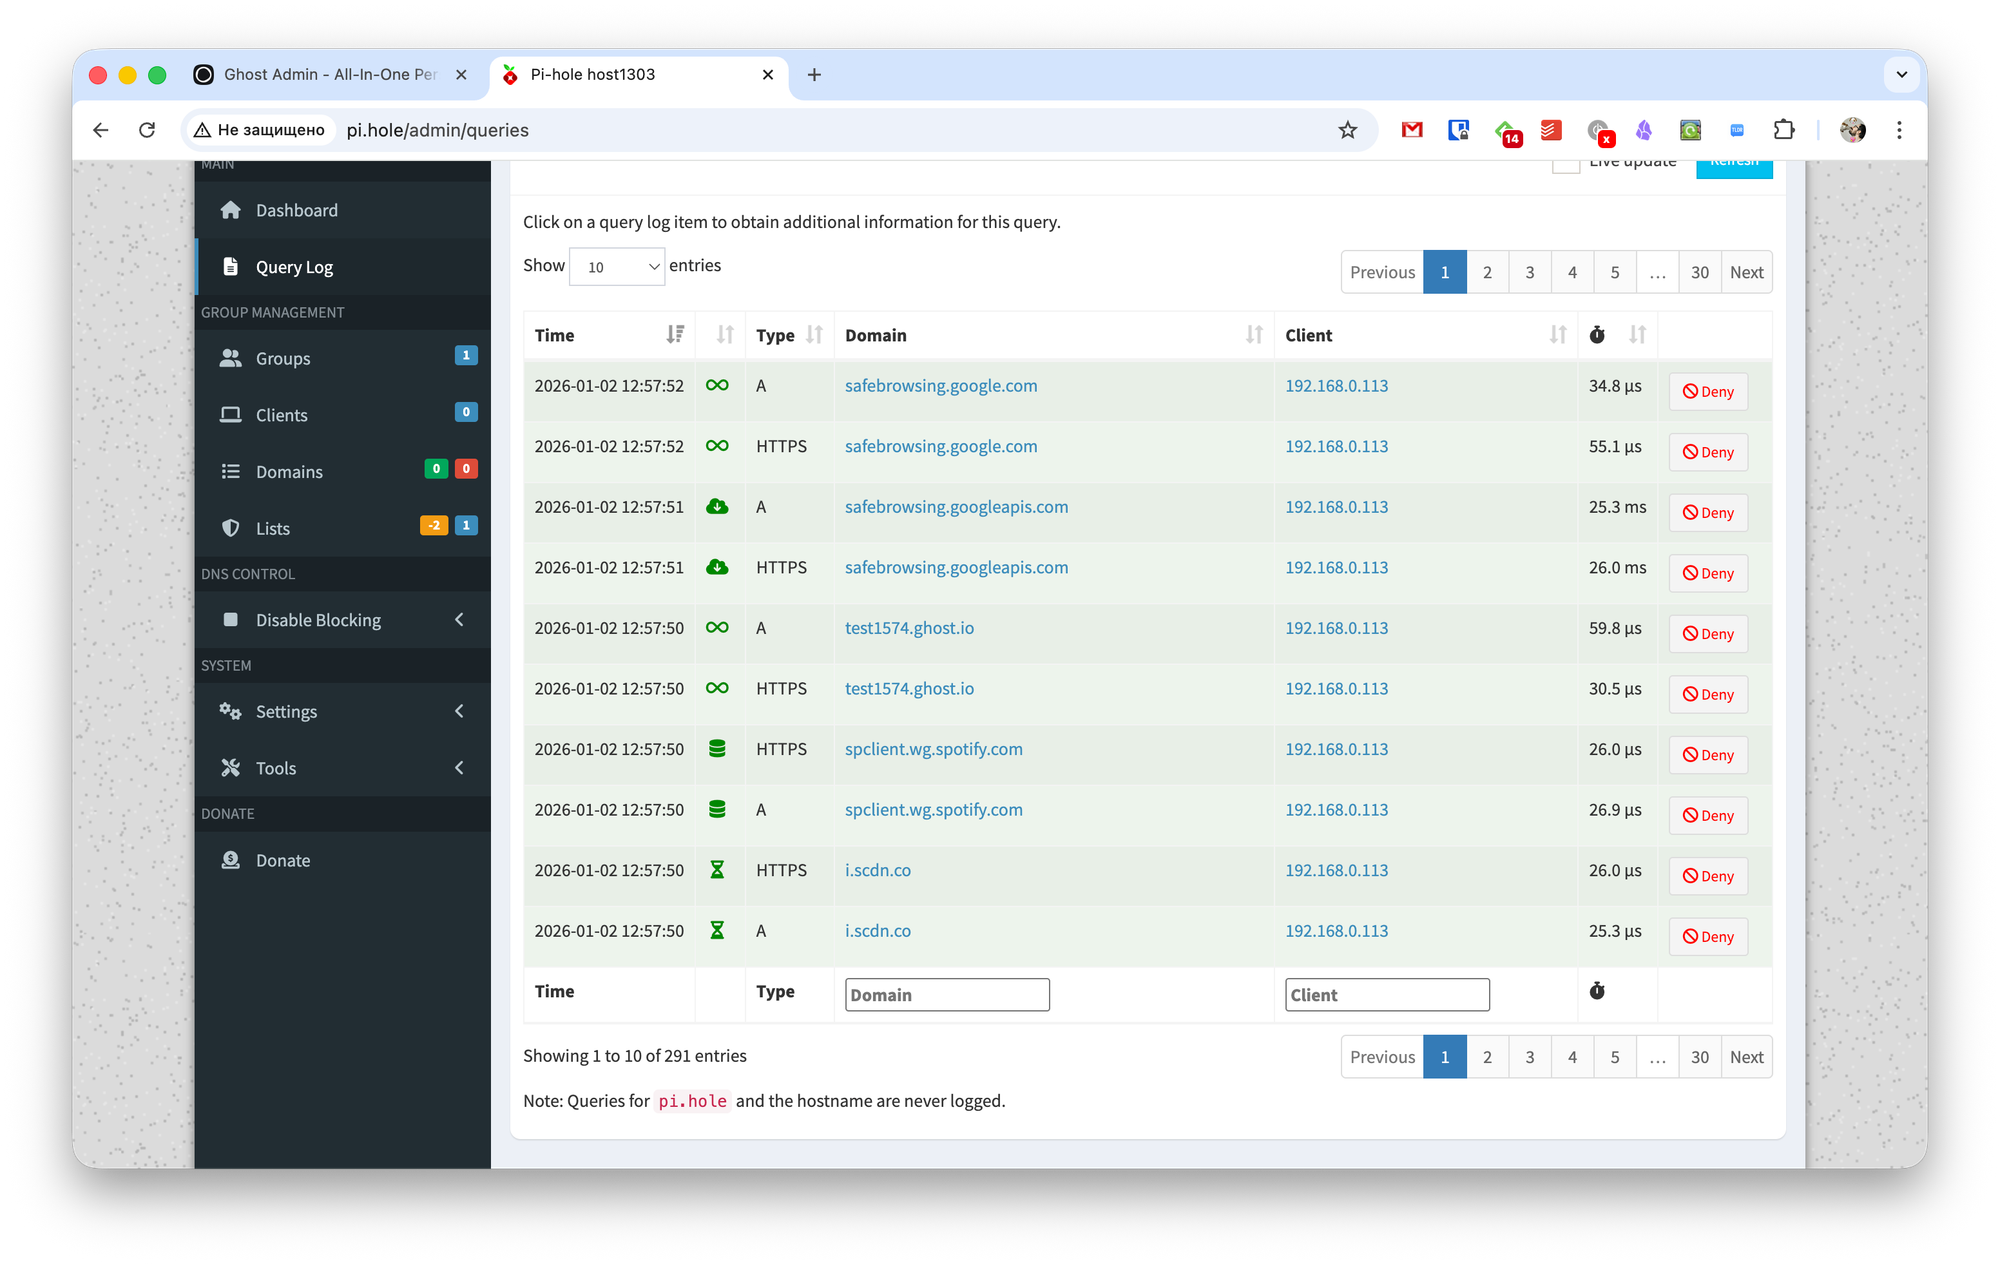
In the Query Log section, you can see a list of all requests with detailed information about time, query type, and client. If needed, you can block future connections to any domain directly from this list.
The Group Management section lets you manage clients, domains, and blocklists.
You can assign client devices to groups to quickly apply settings, or configure individual parameters for each client.
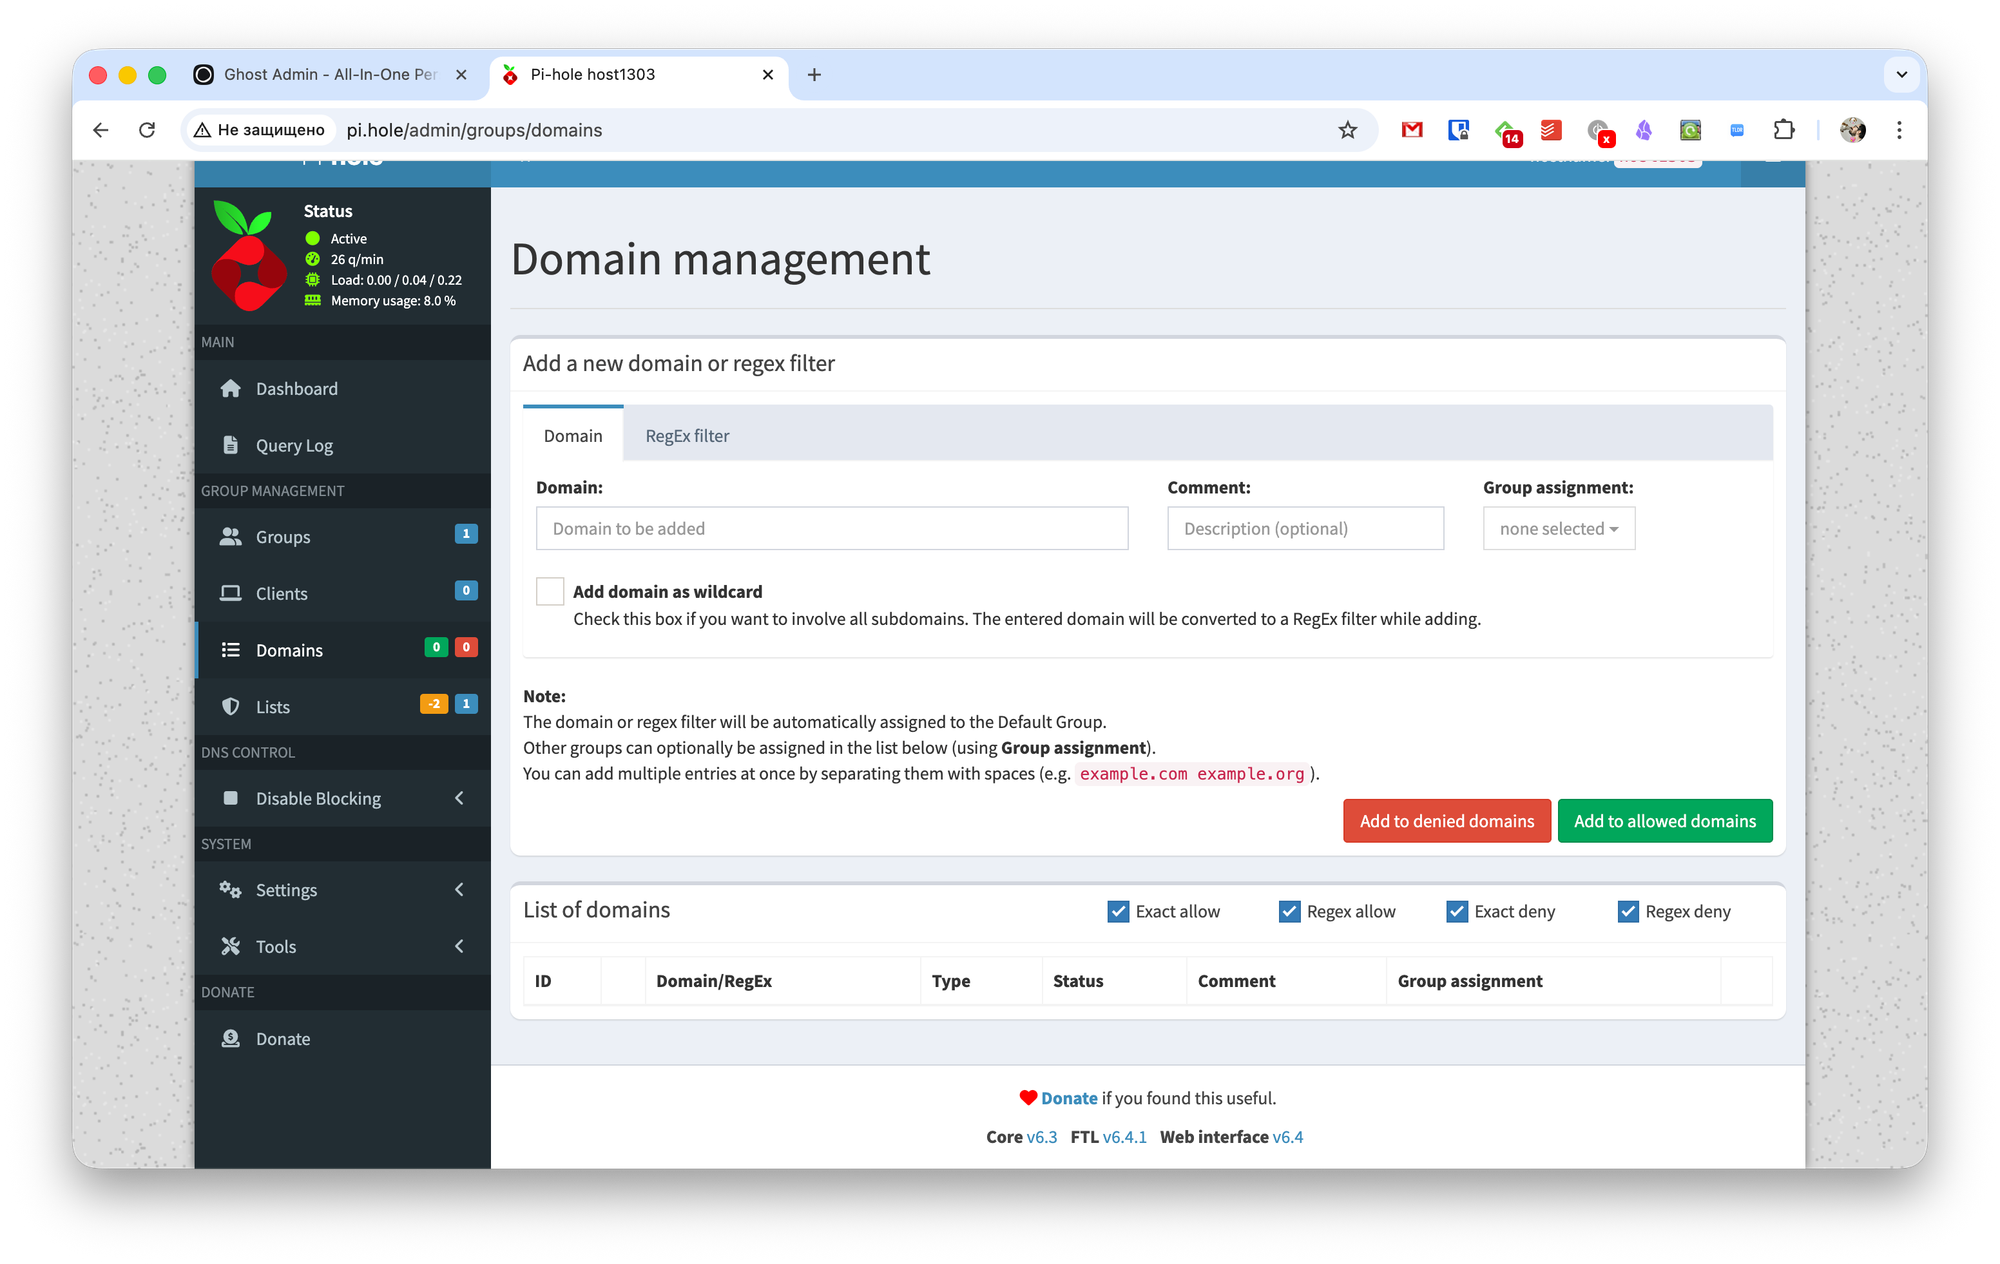
In the Domains section, you can create your own allow or block rules for domains, with RegExp support.
In the Lists section, you can add or disable ad-blocking lists. For example, you can add your own lists from third-party blockers like Adblock. To do this, just specify the list URL, add a comment, assign a group, and mark it as a blocklist—or, наоборот, as an allowlist.
The last few sections are less interesting. You can temporarily disable ad blocking, reconfigure DNS settings (change providers, tweak DHCP, and more), adjust privacy options, and so on.
Is It Really That Easy?
Even though I’m fairly tech-savvy, I don’t really know how to work with Linux, and this was my first time ever handling a Raspberry Pi. Still, I managed to set up Pi-hole in just a couple of minutes and connect to it using the default settings.
Further configuration was just as painless. Probably the only real downside of the whole idea is the need to have a separate device to run the server.