
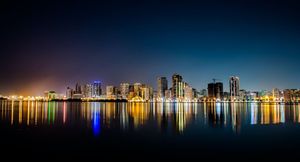
With the help of modern smartphones, you can easily make a panoramic image of any kind. But what if you want to create a panorama from regular photos or add interactivity? This will require specialized applications.
With the help of modern smartphones, you can easily make a panoramic image of any kind. But what if you want to create a panorama from regular photos or add interactivity? This will require specialized applications.
PanoramaStudio is an application for Windows and macOS that helps you create interactive panoramas of any type.
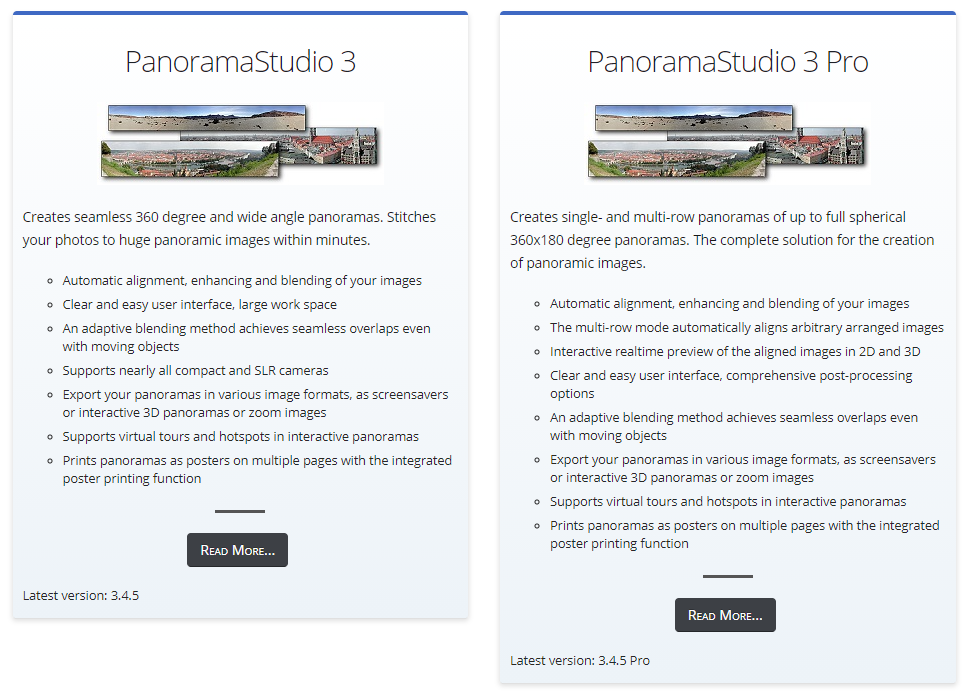
The application is available in two editions: regular and PRO. In the regular version, you can create 360-degree panoramas with a wide view. And in the PRO version, there is support for layers and spherical panoramas.
Of course, these are not all differences. I will not list them all, and in my review I will talk about the professional version. And the differences can be seen in the screenshot below or in more detail at this link.
When you start PanoramaStudio for the first time, you need to choose what type of panorama you want to create.
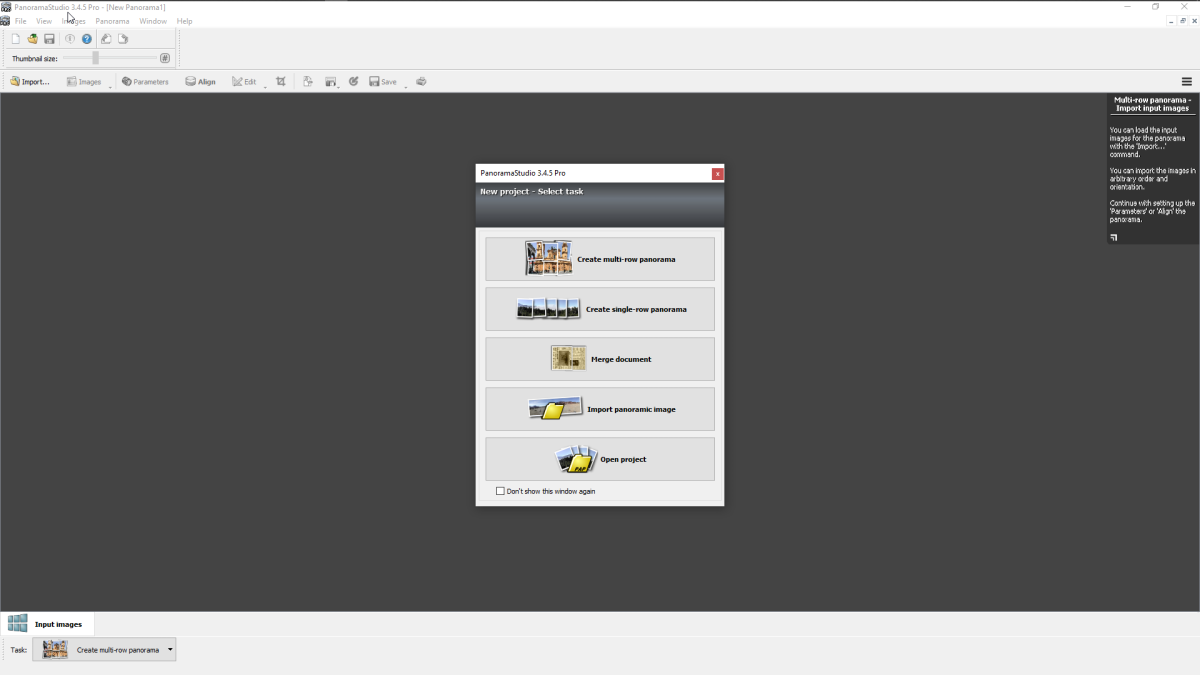
You can choose a multi-layer or single-layer panorama, merge a document, import a panoramic image, or open a saved project.
In order not to go deeper, for example, I'll choose a regular single-layer panorama. The steps for other types of panoramas will be about the same.
Now, using the "Import" button, you need to import your set of images with which you plan to work.
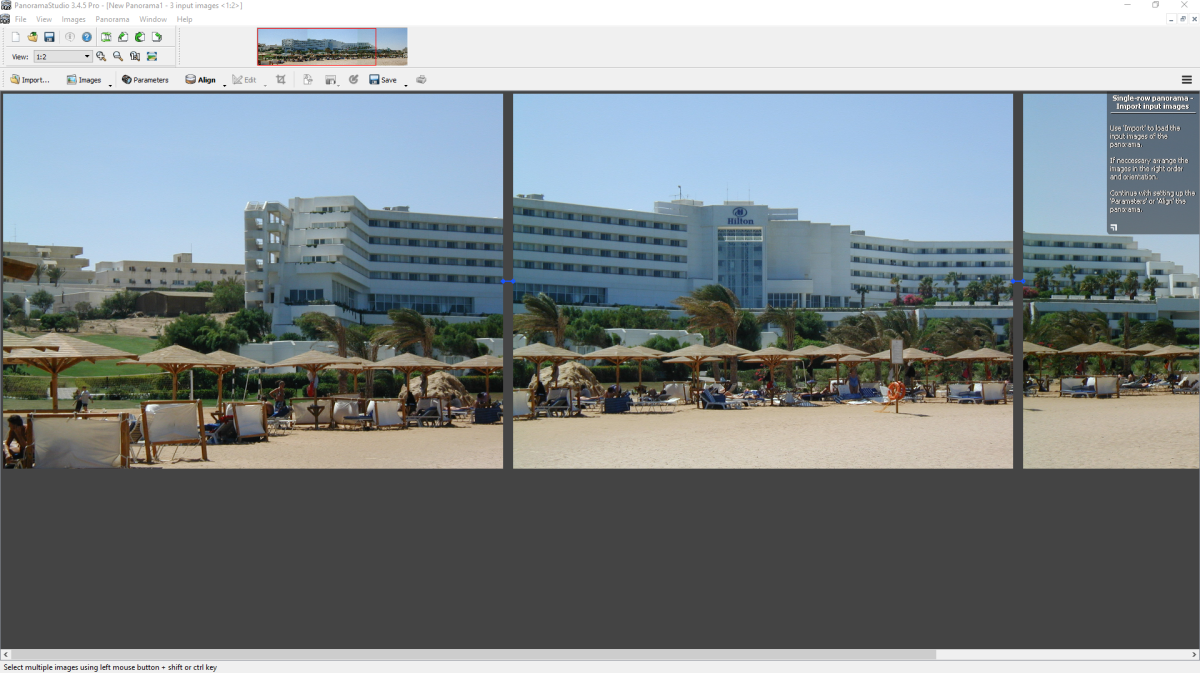
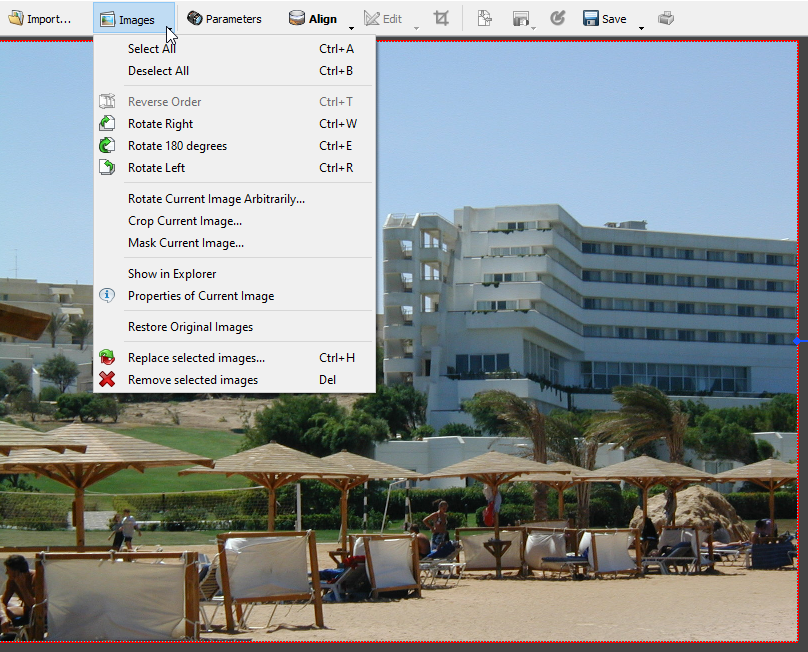
The application does not immediately perform any action on the added images. Through the menu you can make some basic edits to photos: rotation, reflection, cropping, adding a mask. Or immediately choose to create a regular or 360 panorama.
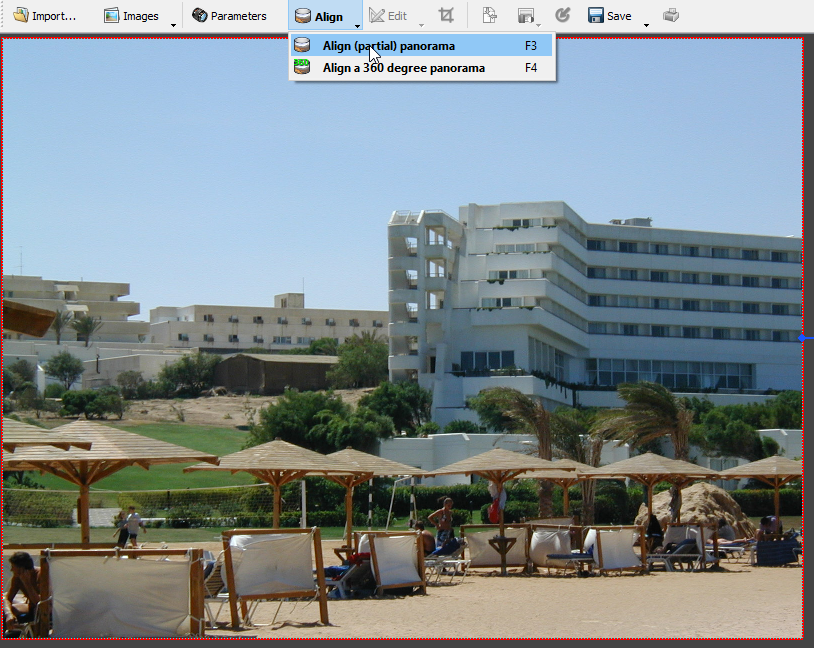
PanoramaStudio will automatically arrange photos according to the selected panorama type. And with the help of editing tools you can make the necessary edits: change focus, make alignment, add a mask, and more.
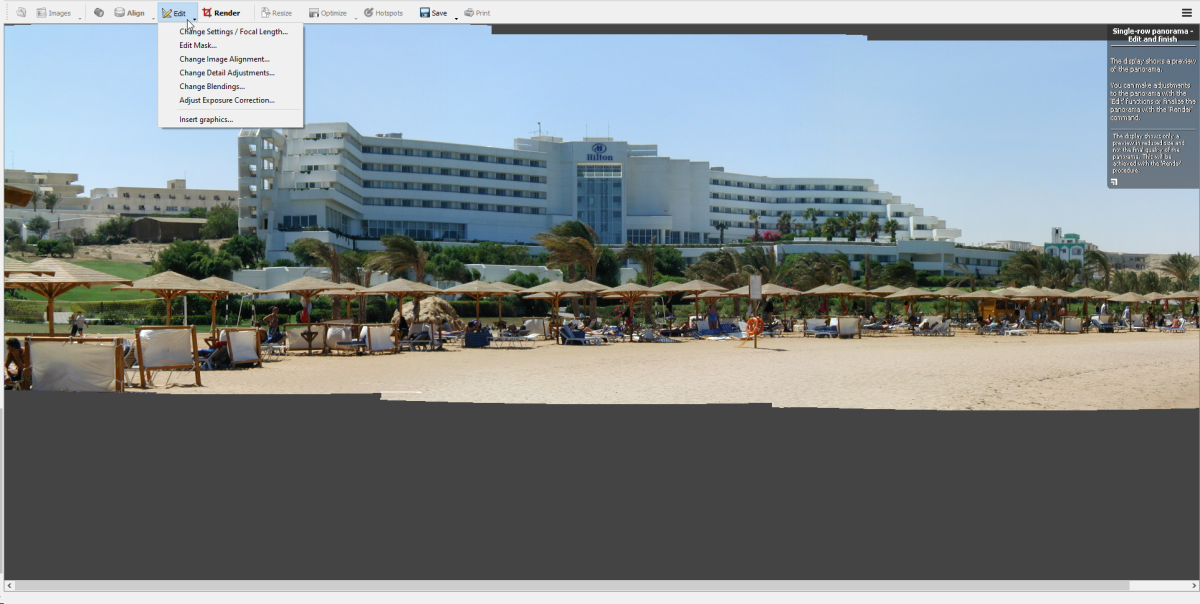
If you are satisfied with the result, click the "Render" button. The panorama is ready.
To add interactive elements, you need to click the Hotspots button. In a special editor, you can select the type of icon and the action to be performed when you click on it.
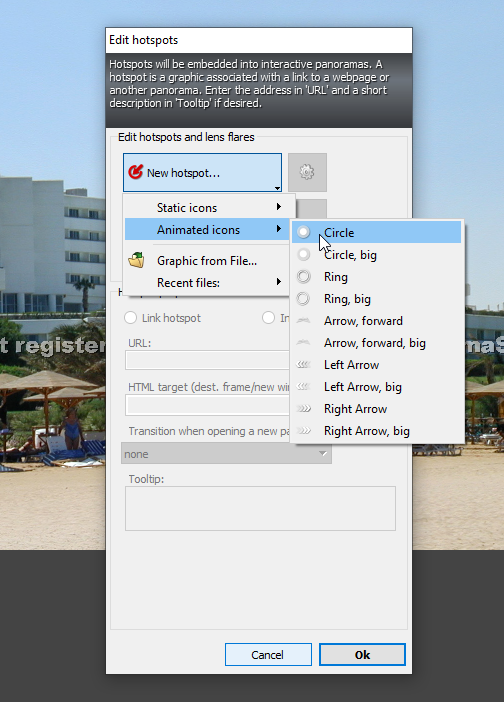
Have you set everything up? Now click on the desired part of the image and "Hotspot" will appear on it.
After completing all the manipulations, simply save the finished image as an interactive panorama.

Before installing PanoramaStudio, I was sure that creating panoramas, and even more interactive ones, was a very difficult task. As it turned out, with the help of such programs, the whole process takes a few minutes and does not require any special knowledge.